Using External Assets
Warning
The Megascan materials referenced in this document may be subject to copyright.
Any legal responsibilities arising from unauthorized distribution, commercial use, or secondary redistribution rest solely with the user.
Please ensure you review the relevant copyright and license terms before using such materials.
⚠️ This document is provided solely as an example for practice purposes.
No example files are included, and only the documentation is provided. For any real project usage, you must carefully review and comply with official licenses and copyright requirements.
This guide covers the process of importing high-quality assets from external sources like Quixel Bridge for use in the inZOI ModKit.
1. Create Folder & Download Content
First, you need to create a new folder to hold the external assets and download the desired asset from Quixel Bridge.
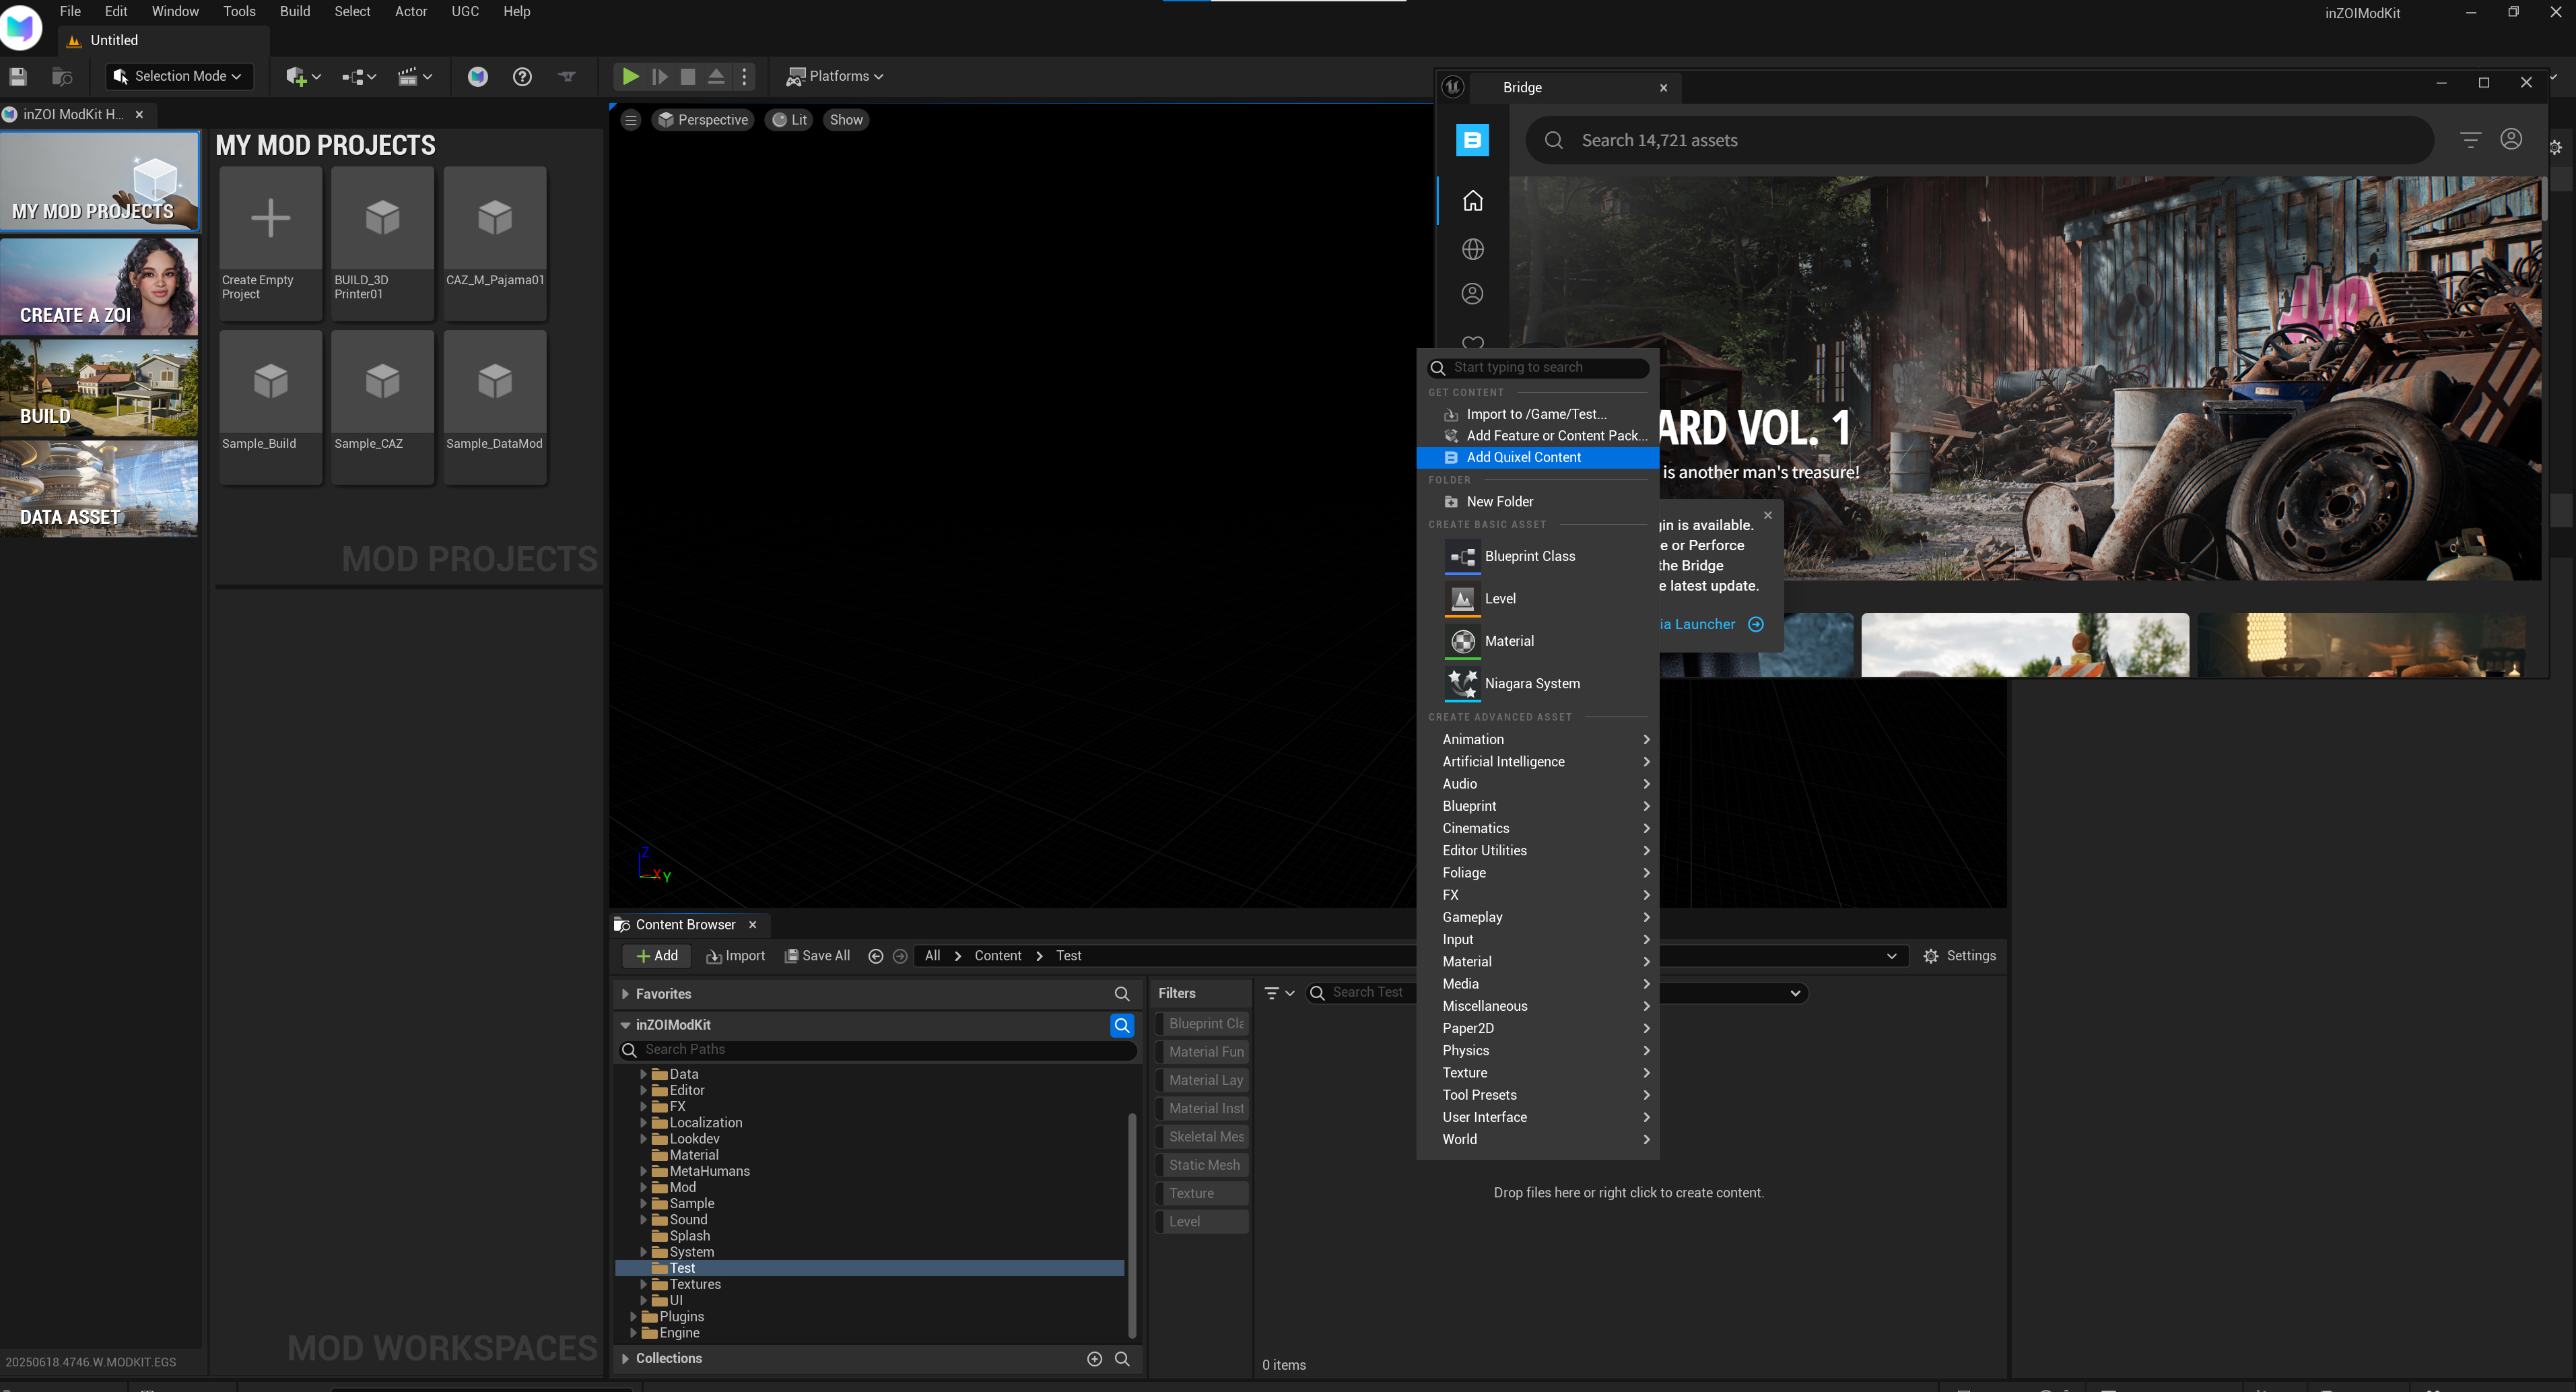
- Create Folder: Create a new project or open an existing one in
My Mod Projects. Right-click in the Content Browser to create a new folder for organizing external assets. - Launch Quixel Bridge: Click the [Content] button at the top of the Content Browser to open [Quixel Bridge].
- Download Asset: Find and download the desired asset (e.g., a fireplace) in Bridge.
2. Import Files
Bring the downloaded assets into the ModKit's Asset Editor to perform the basic setup.
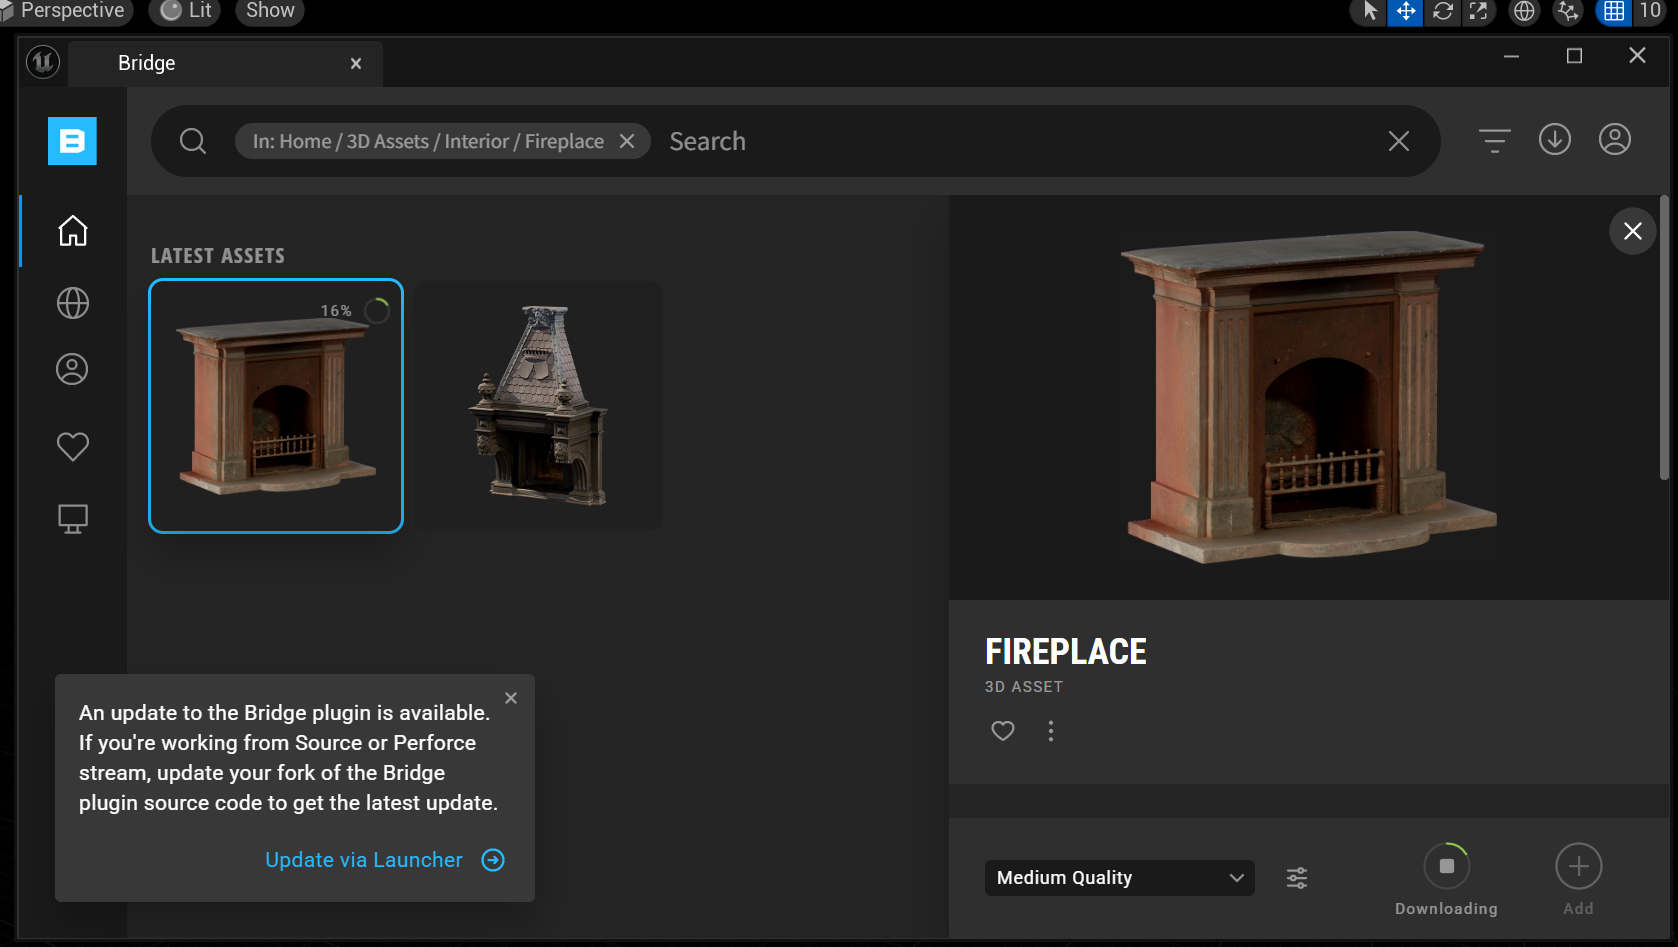
- Click the Add button in Bridge to import the downloaded asset into the Content Browser.
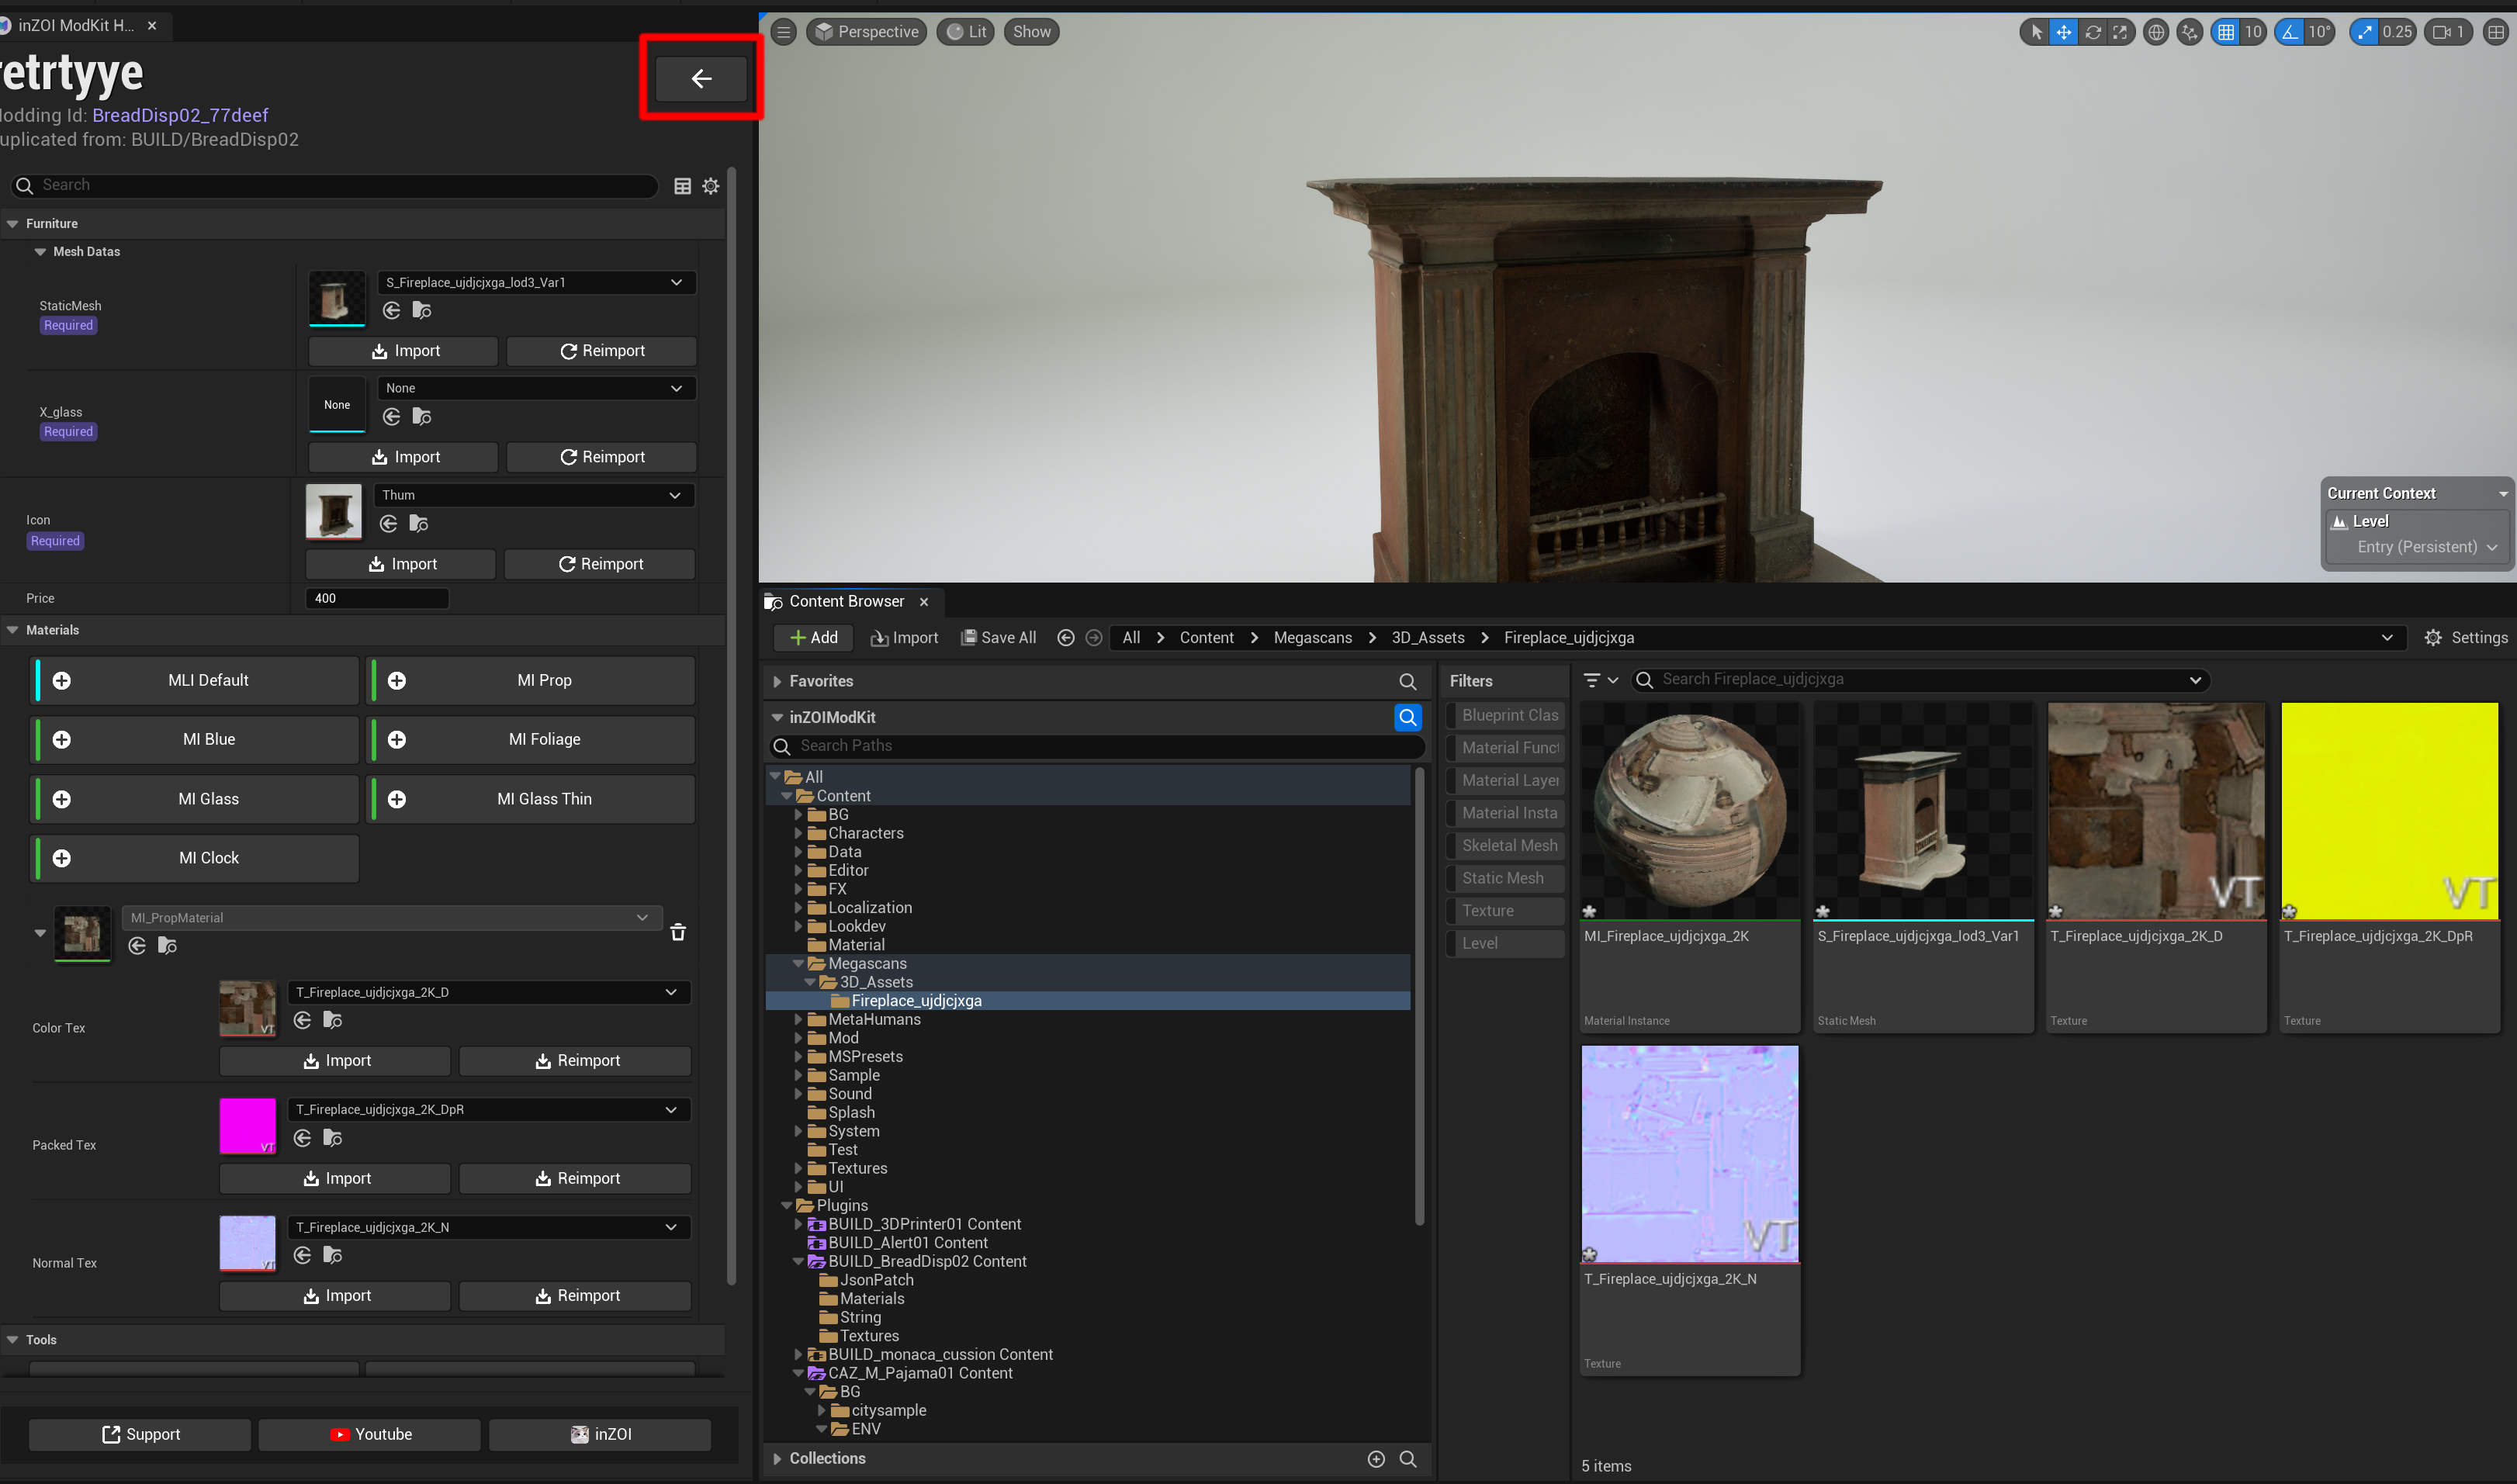
- Double-click the imported asset to open the Asset Editor. Here, you can verify that the mesh and materials have been applied correctly and modify any necessary properties.
3. Texturing
Once the asset is set up, you must apply textures to the Static Mesh, Thumbnail, and Materials appropriately.
If the texture's channel values differ from the MI Prop standard, the channels must be changed. If they are the same as the standard, you can apply it in-game to finish.
Changing Texture Channels
For downloaded textures, the G channel of the mixed map is often set to the Roughness value. Therefore, you may need to change the channels to match the standard used by the MI Prop material: AOMRD (R: AO, G: Metallic, B: Roughness).
4. Packaging the Mod
Once all work is complete, click the back arrow at the top left of the editor to return to the main screen, then proceed with the packaging (build) steps below.
Packaging
Use one of the following options to package your mod and make it available in the game or share it with others.
5. Organize Asset Files
Creating Folders and Moving Files
These folders are not generated automatically, so you must create them yourself and move the corresponding files. Since the material uses MI_Prop, the Materials folder is created automatically.
Imagesfolder: Store 2D image files like thumbnails or icons that will be displayed in the UI.Meshesfolder: Store the mod's 3D model data, such as Static Meshes and Skeletal Meshes (.fbxfiles, etc.).Texturesfolder: Store the texture files (.png,.tga,.dds, etc.) that are applied to the surface of the 3D models.
Reference Video
You can see the actual process in the video below:
Optimization
- It is recommended to enable the Nanite option by double-clicking the mesh file.
- Smaller texture sizes and lower mesh triangle counts are better for optimization.
6. In-Game Confirmation
Finally, apply the packaged mod to the game and confirm that it works correctly.
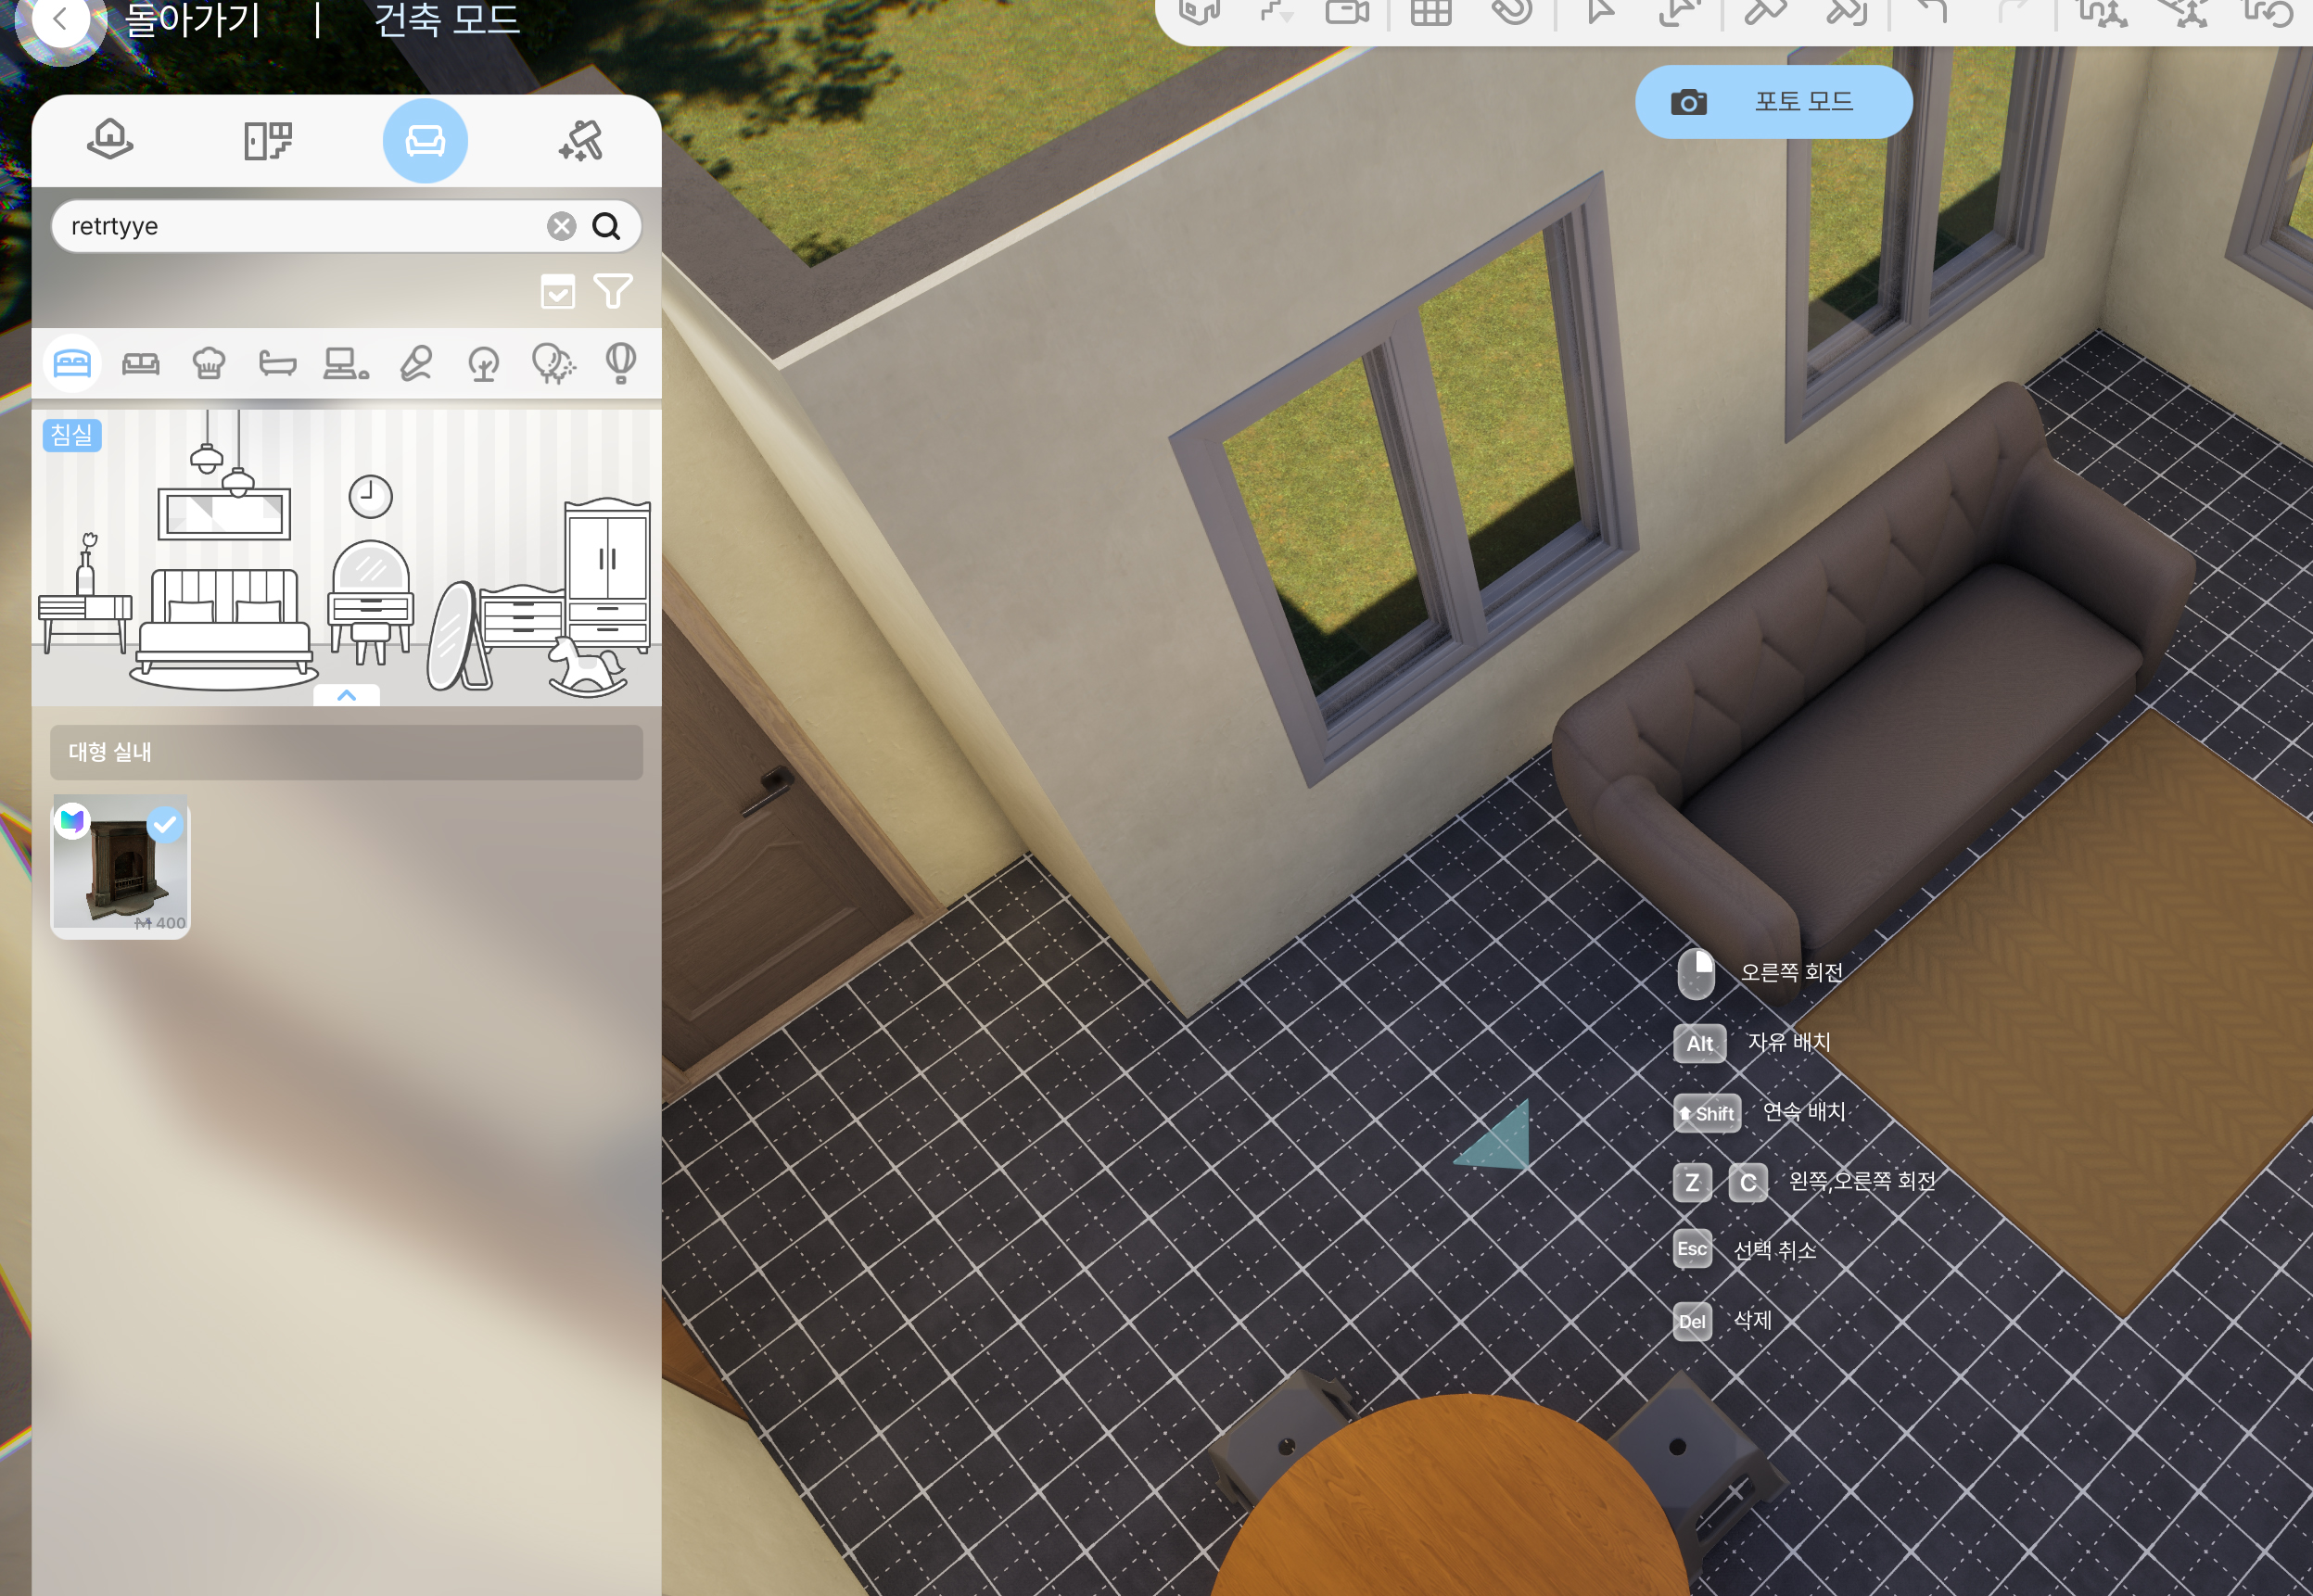
- Set the path to
This PC > Documents > inZOI > Mods - Launch the game and open the Build Mode catalog to confirm that the added asset is displayed and can be placed properly.