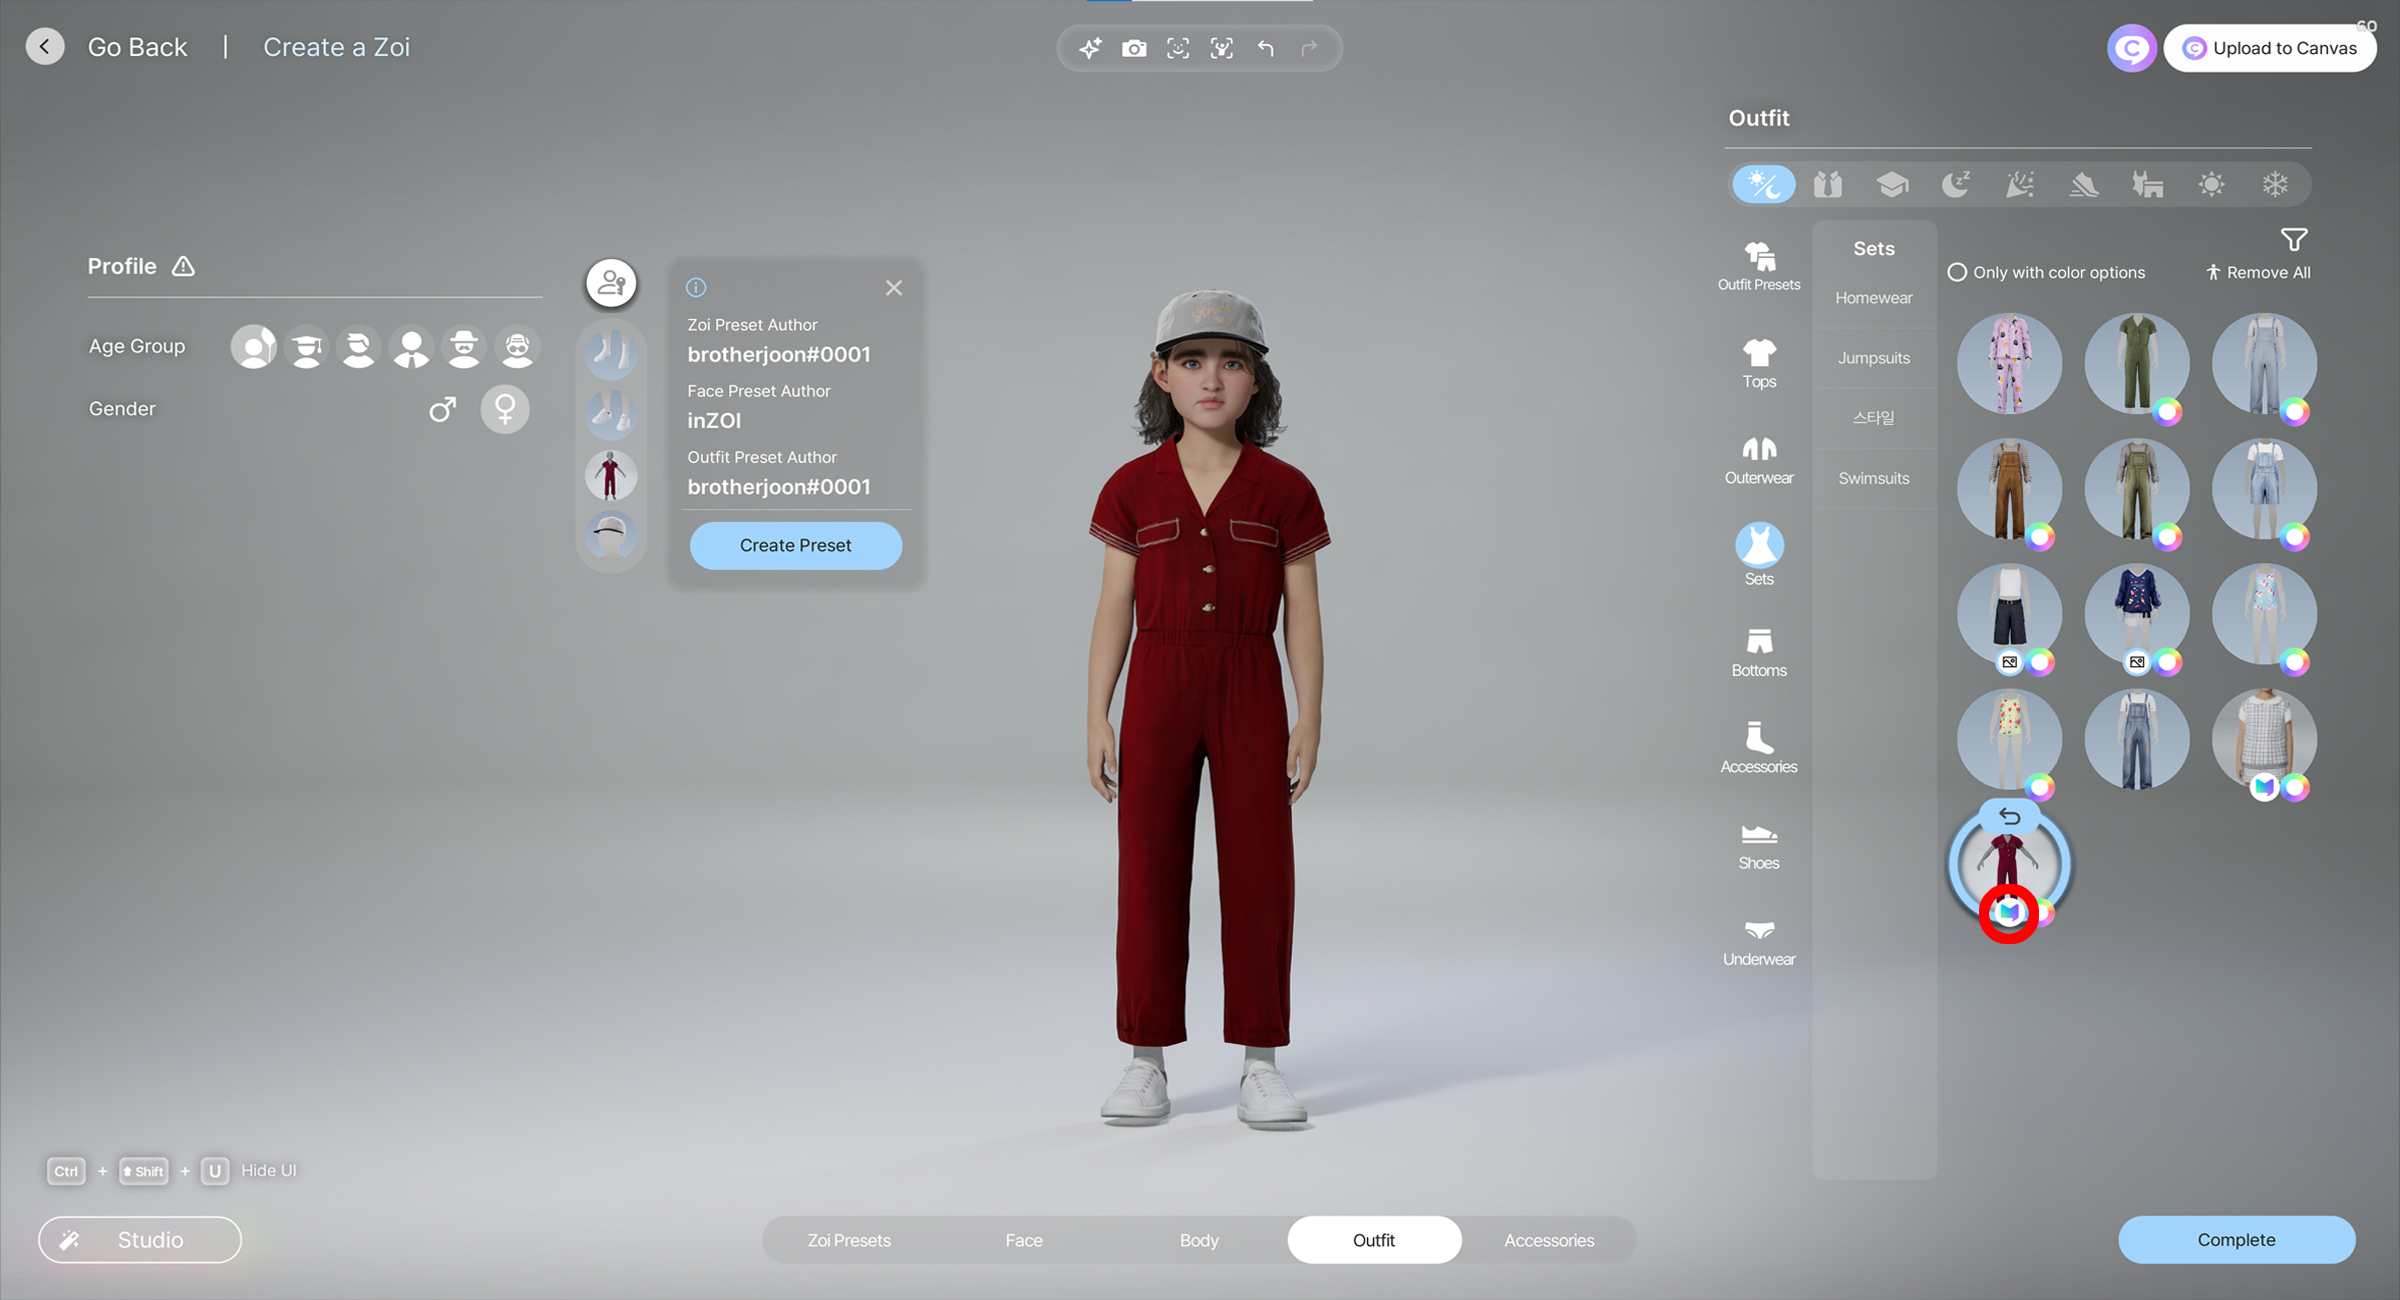
CurseForge
This guide explains the steps to upload your inZOI mod to CurseForge. Follow the instructions below to complete the registration successfully without any errors.
01. Sign Up on CurseForge
Go to https://www.curseforge.com/ and create an account.
02. Open Sign-In in Modkit
Go to UCC → Sign In in the inZOI Modkit.
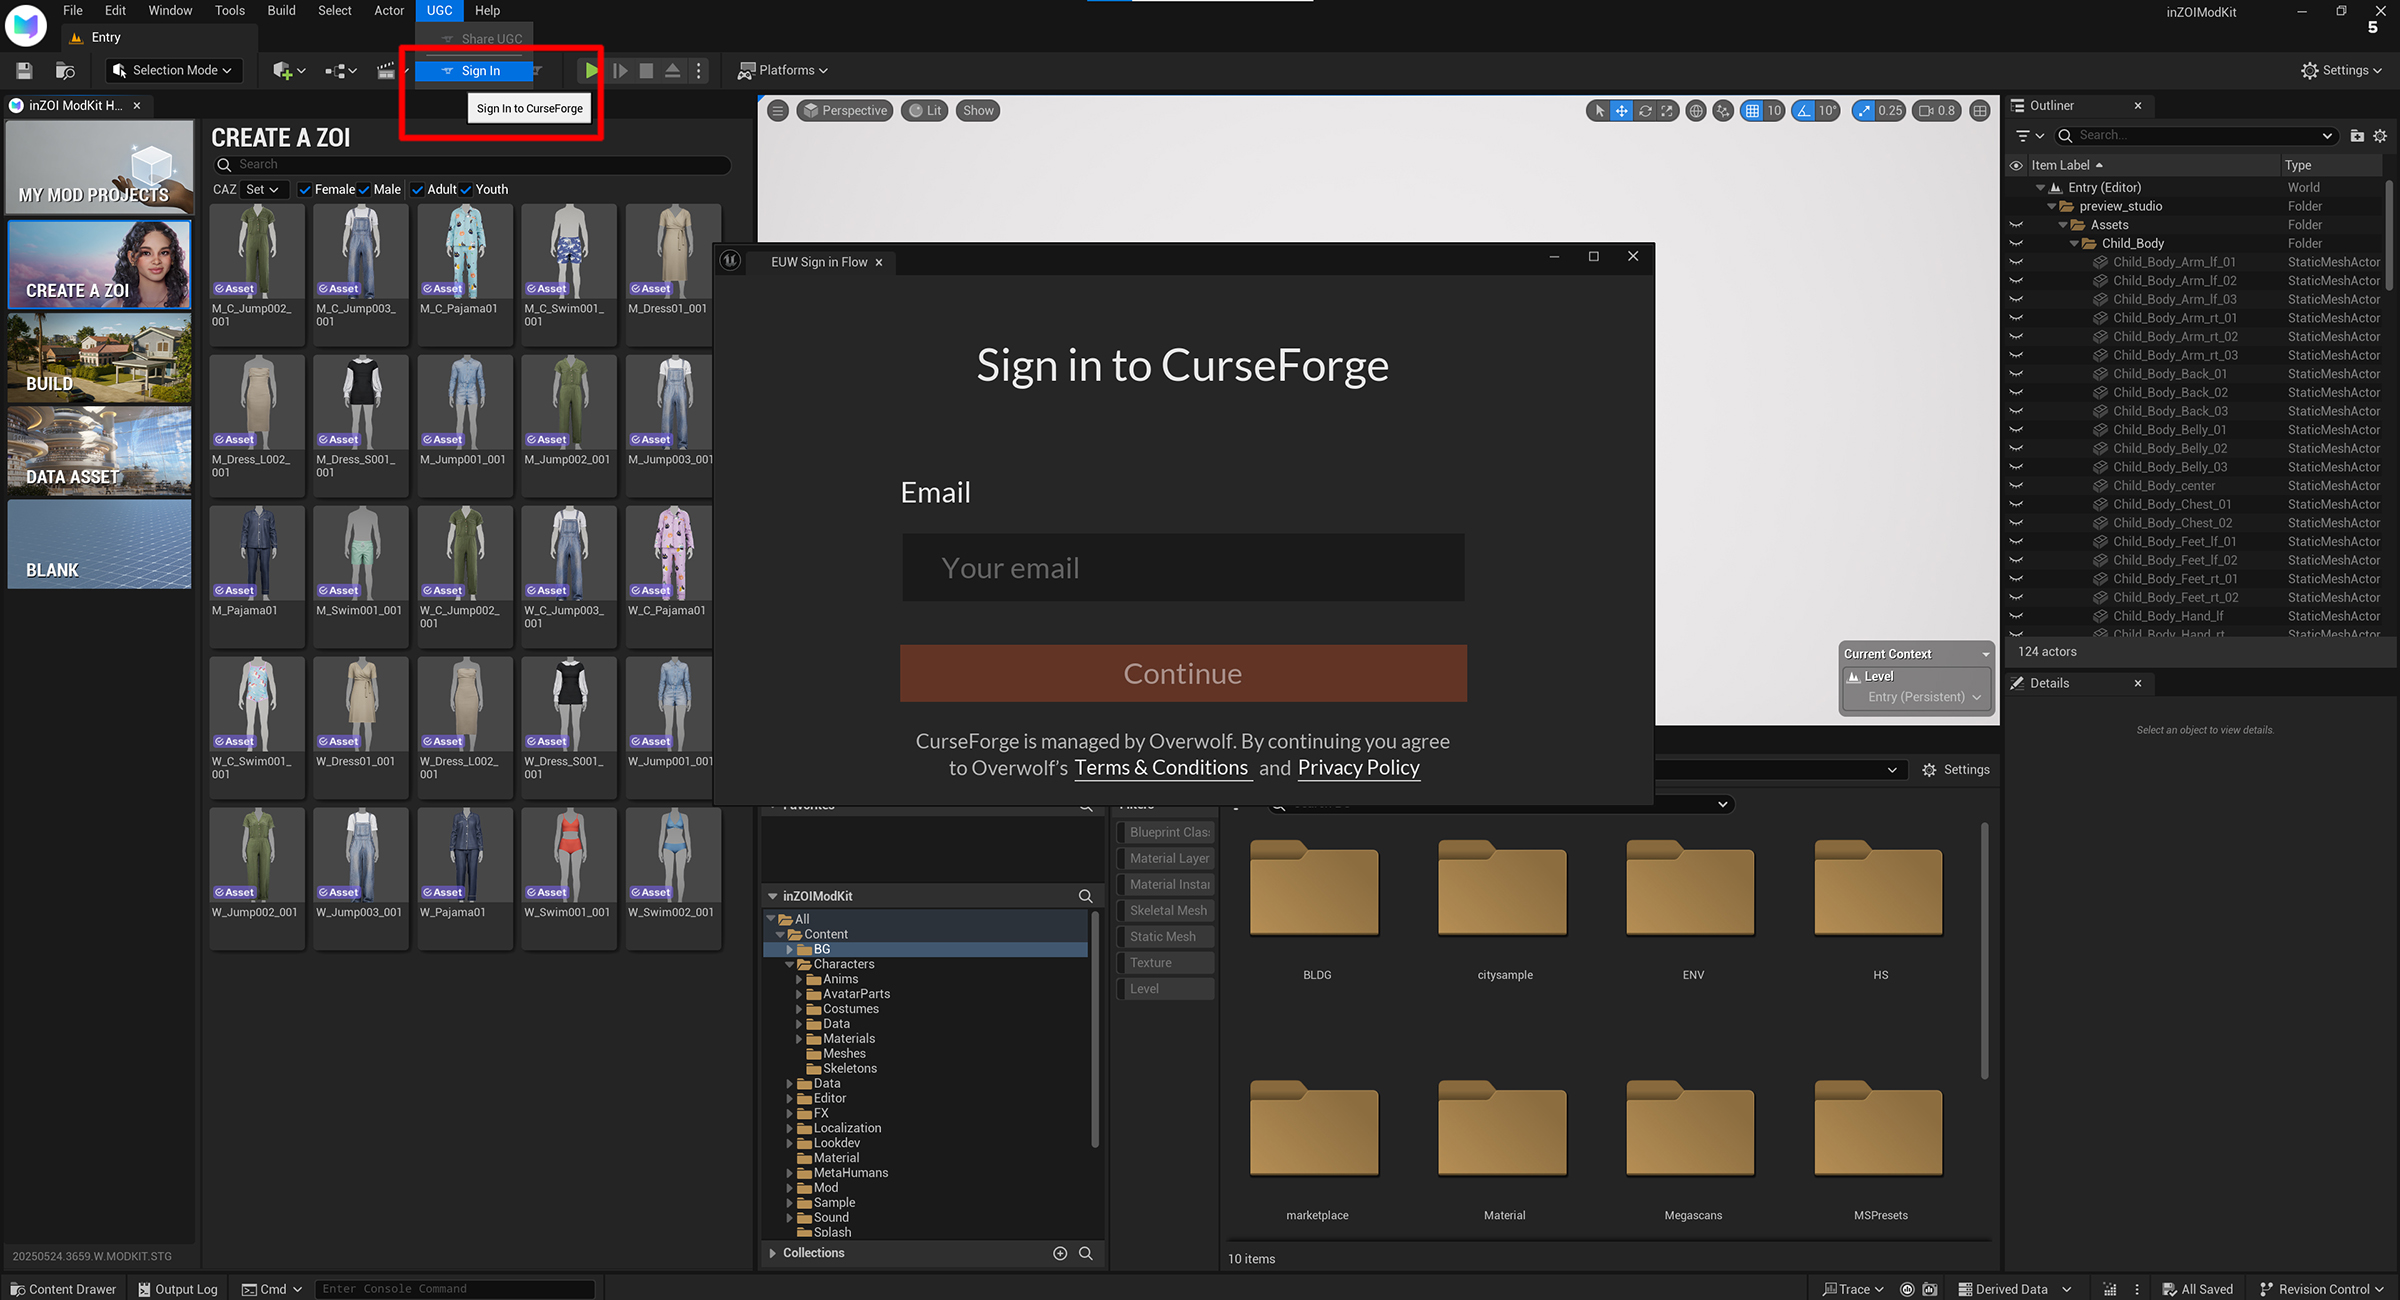
03. Log In
Enter your registered email and password to log in.
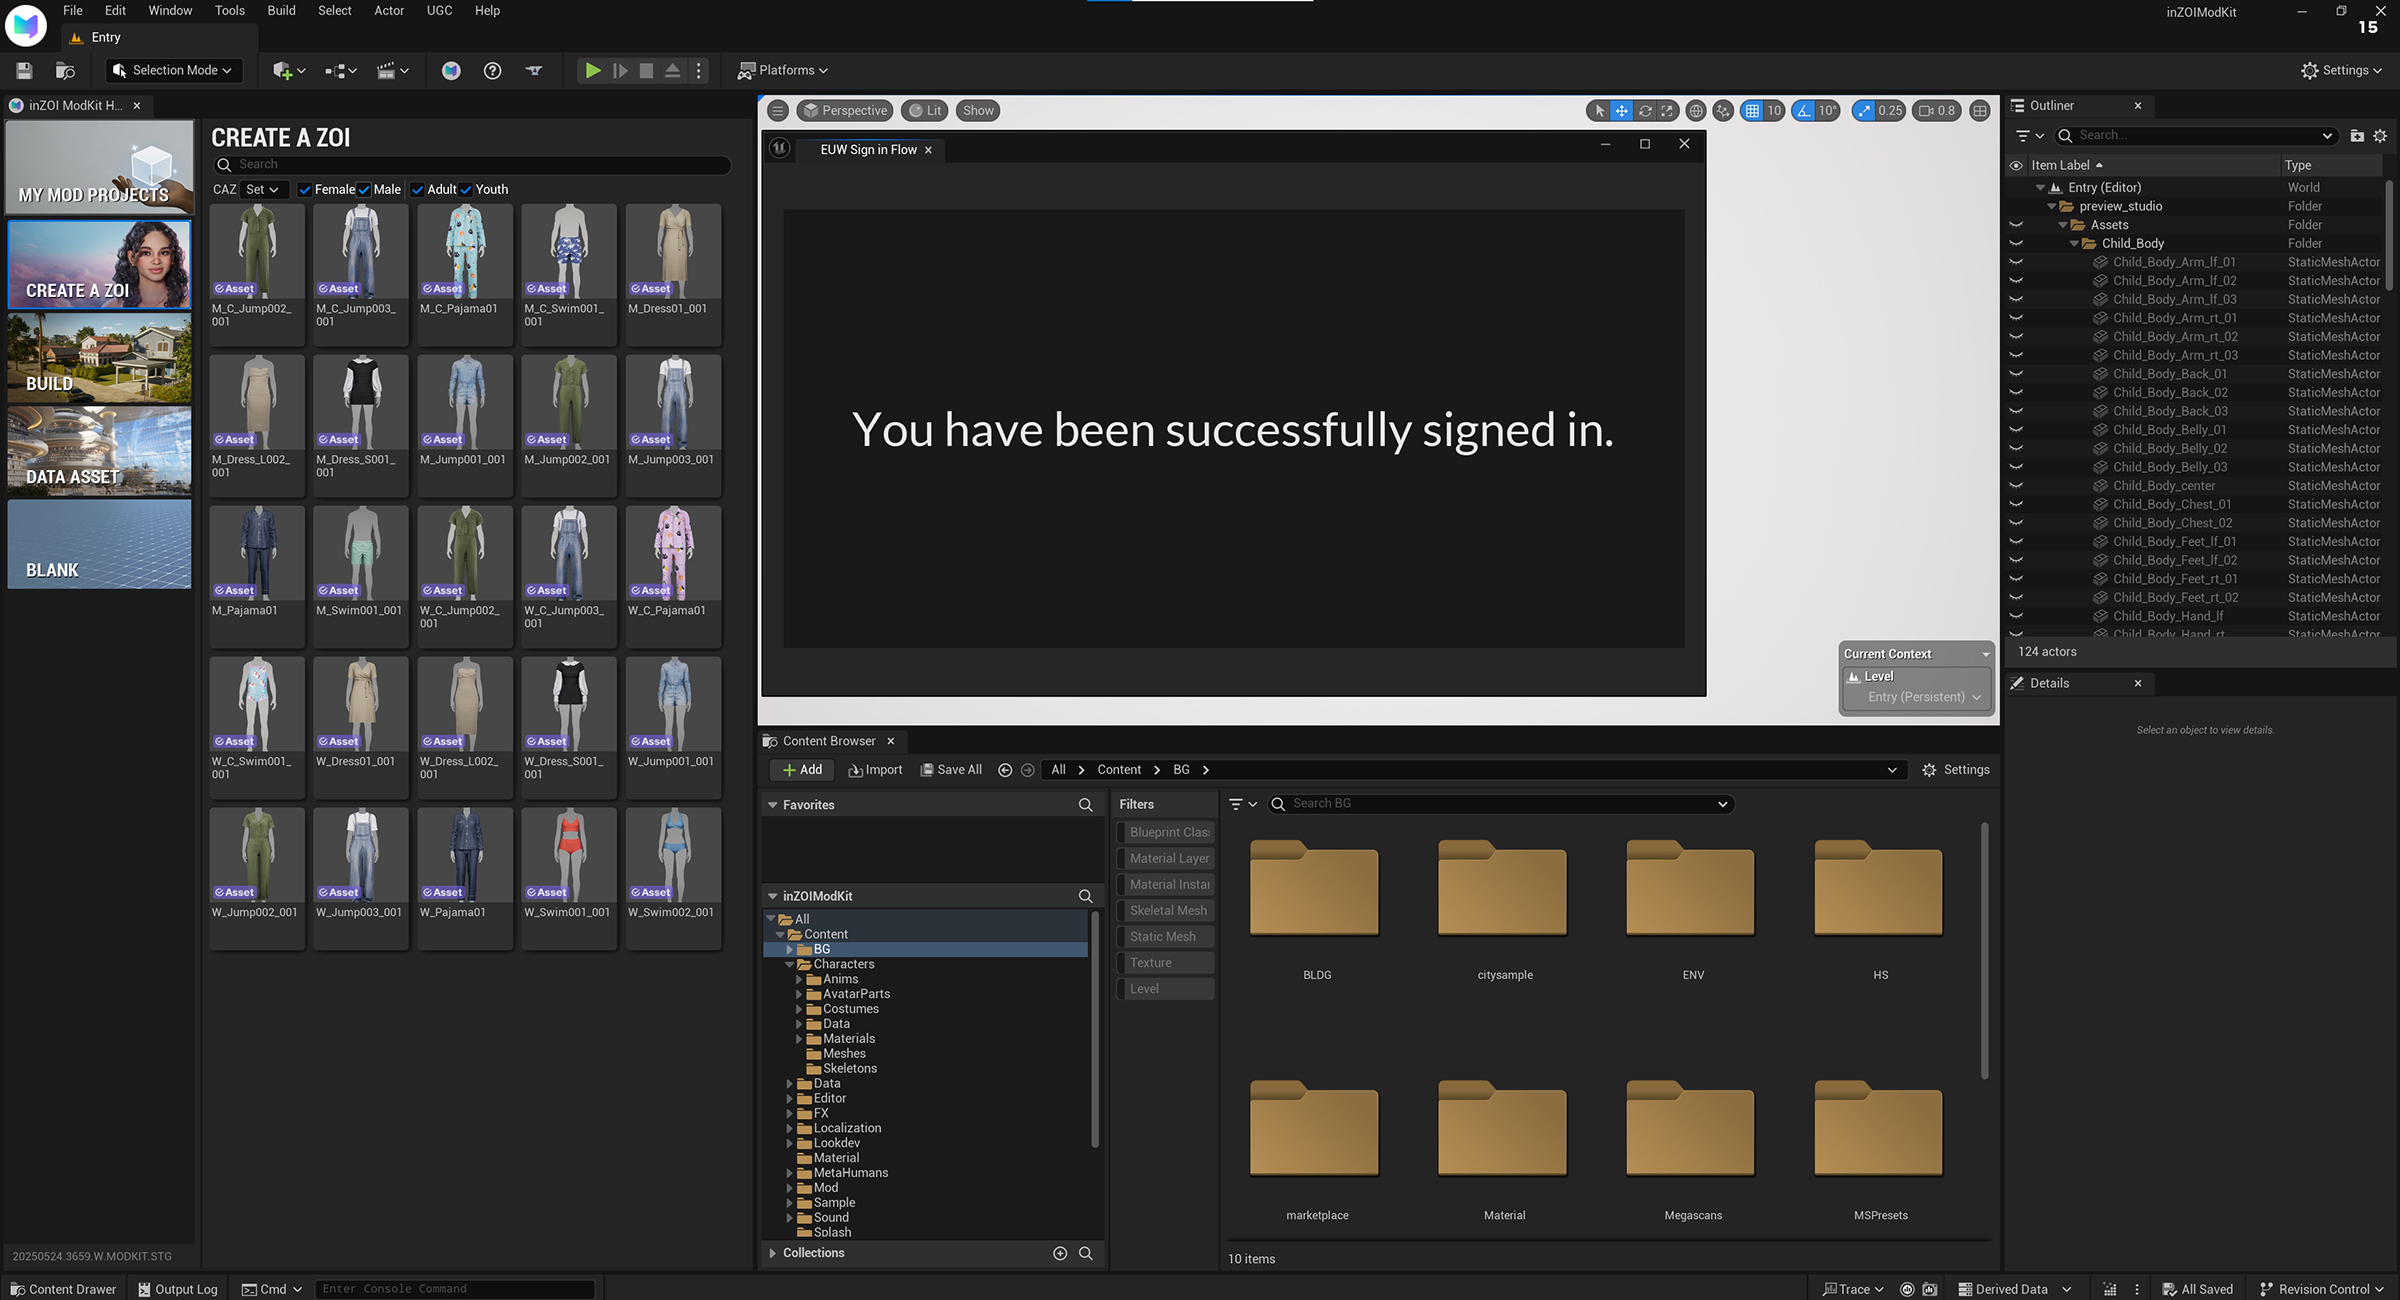
04. Open Share UGC menu
Go to UCC → Share UGC in the inZOI Modkit.
05. Click "Create Mod"
When you're ready to enter mod details, click Create Mod.
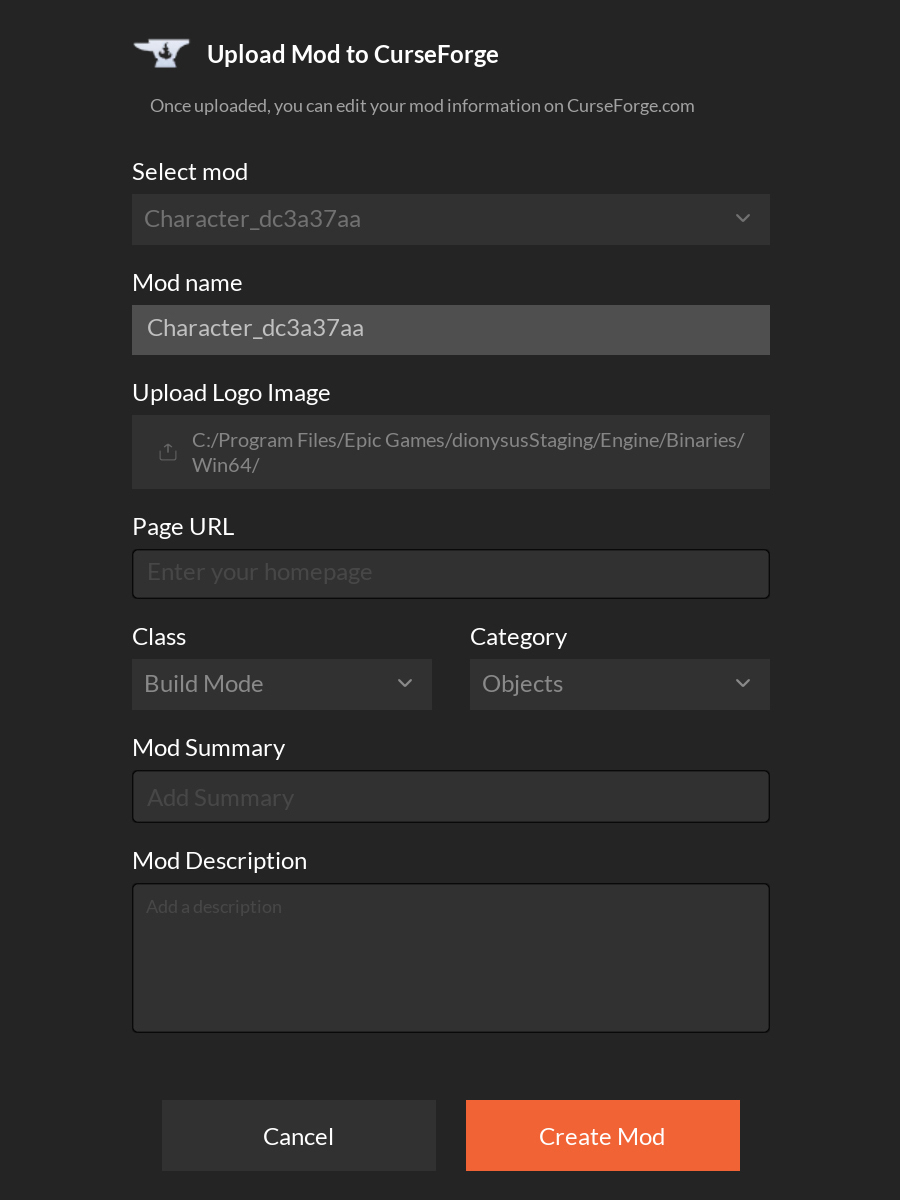
🔧 Upload Mod to CurseForge
✔ Select mod
Select the .mod file from your current project to upload.
✔ Mod name The name that will be registered on CurseForge. Default: Uses the name of the selected mod file.
✔ Upload Logo Image
Upload a logo image (thumbnail) to be displayed on CurseForge.
Recommended size: 512×512 or 256×256 (JPG/PNG)
✔ Page URL (Optional) A link to the mod’s homepage or info page.
e.g. GitHub, personal blog, forum page
✔ Class Choose the class your mod belongs to.
✔ Category Select a specific category based on the class.
✔ Mod Summary A short description shown in the mod listing.
✔ Mod Description A detailed explanation that appears on the mod’s page. You may include:
- Features
- Usage instructions
- Version history
06. Check Auto Package
After registering the mod, check if a Package is automatically generated at the bottom. If it appears without errors, the upload was successful.
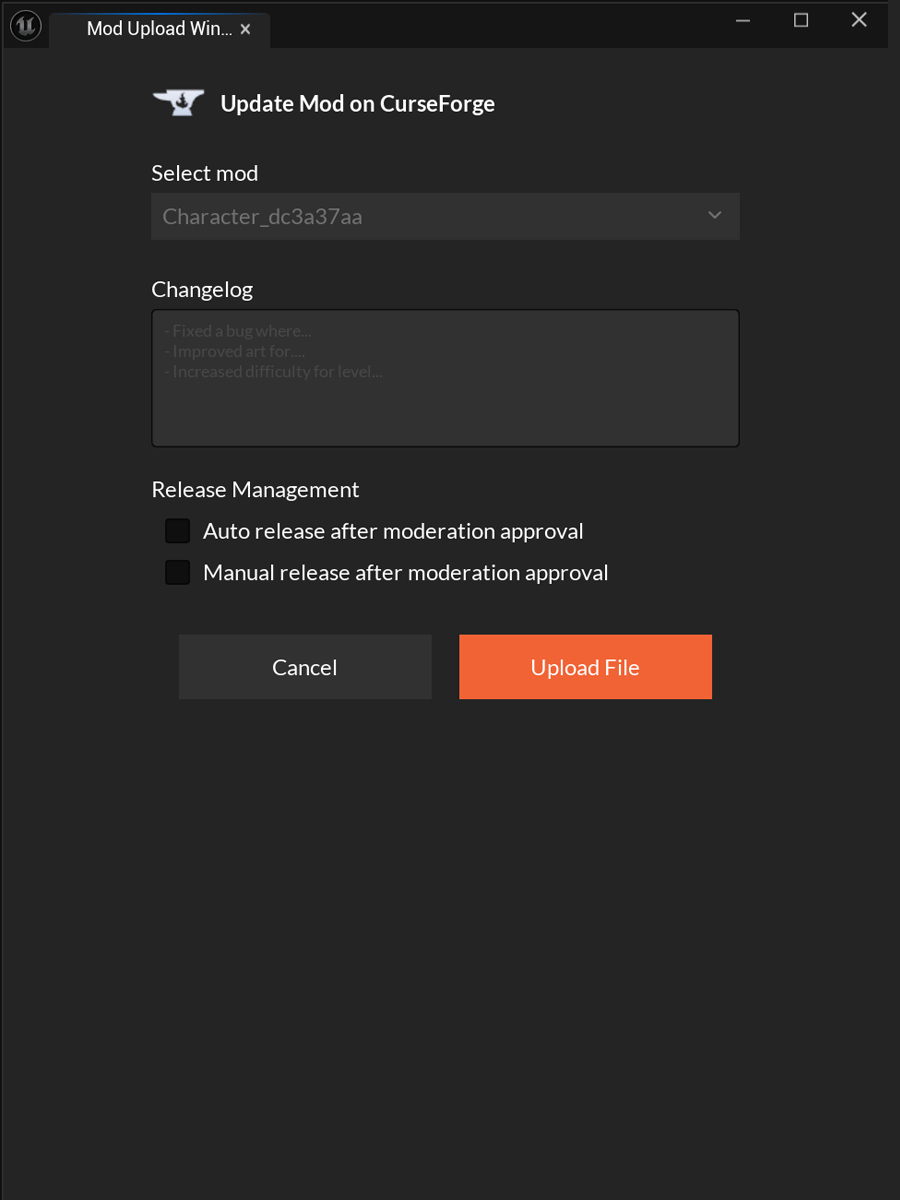
🛠️ Update Mod on CurseForge
✔ Select mod Choose the mod you want to update.
✔ Changelog Enter the changes made in this update. Examples:
- Fixed a bug where...
- Improved art for...
- Increased difficulty for level...
✔ Release Management Choose how the mod will be released after moderation.
-
Auto release after moderation approval → Automatically publishes the mod once approved.
-
Manual release after moderation approval → You must manually trigger the release after approval.
07. Moderation
- Send the finished mod to moderation (done via the CF author's console)
- Wait for moderation approval
- Depends on what you selected in the "Release management" option 1. Either mod is going live after approval 2. Or the author will publish it manually
08. Launch inZOI (Steam)
Launch inZOI from Steam and open the Mods menu.
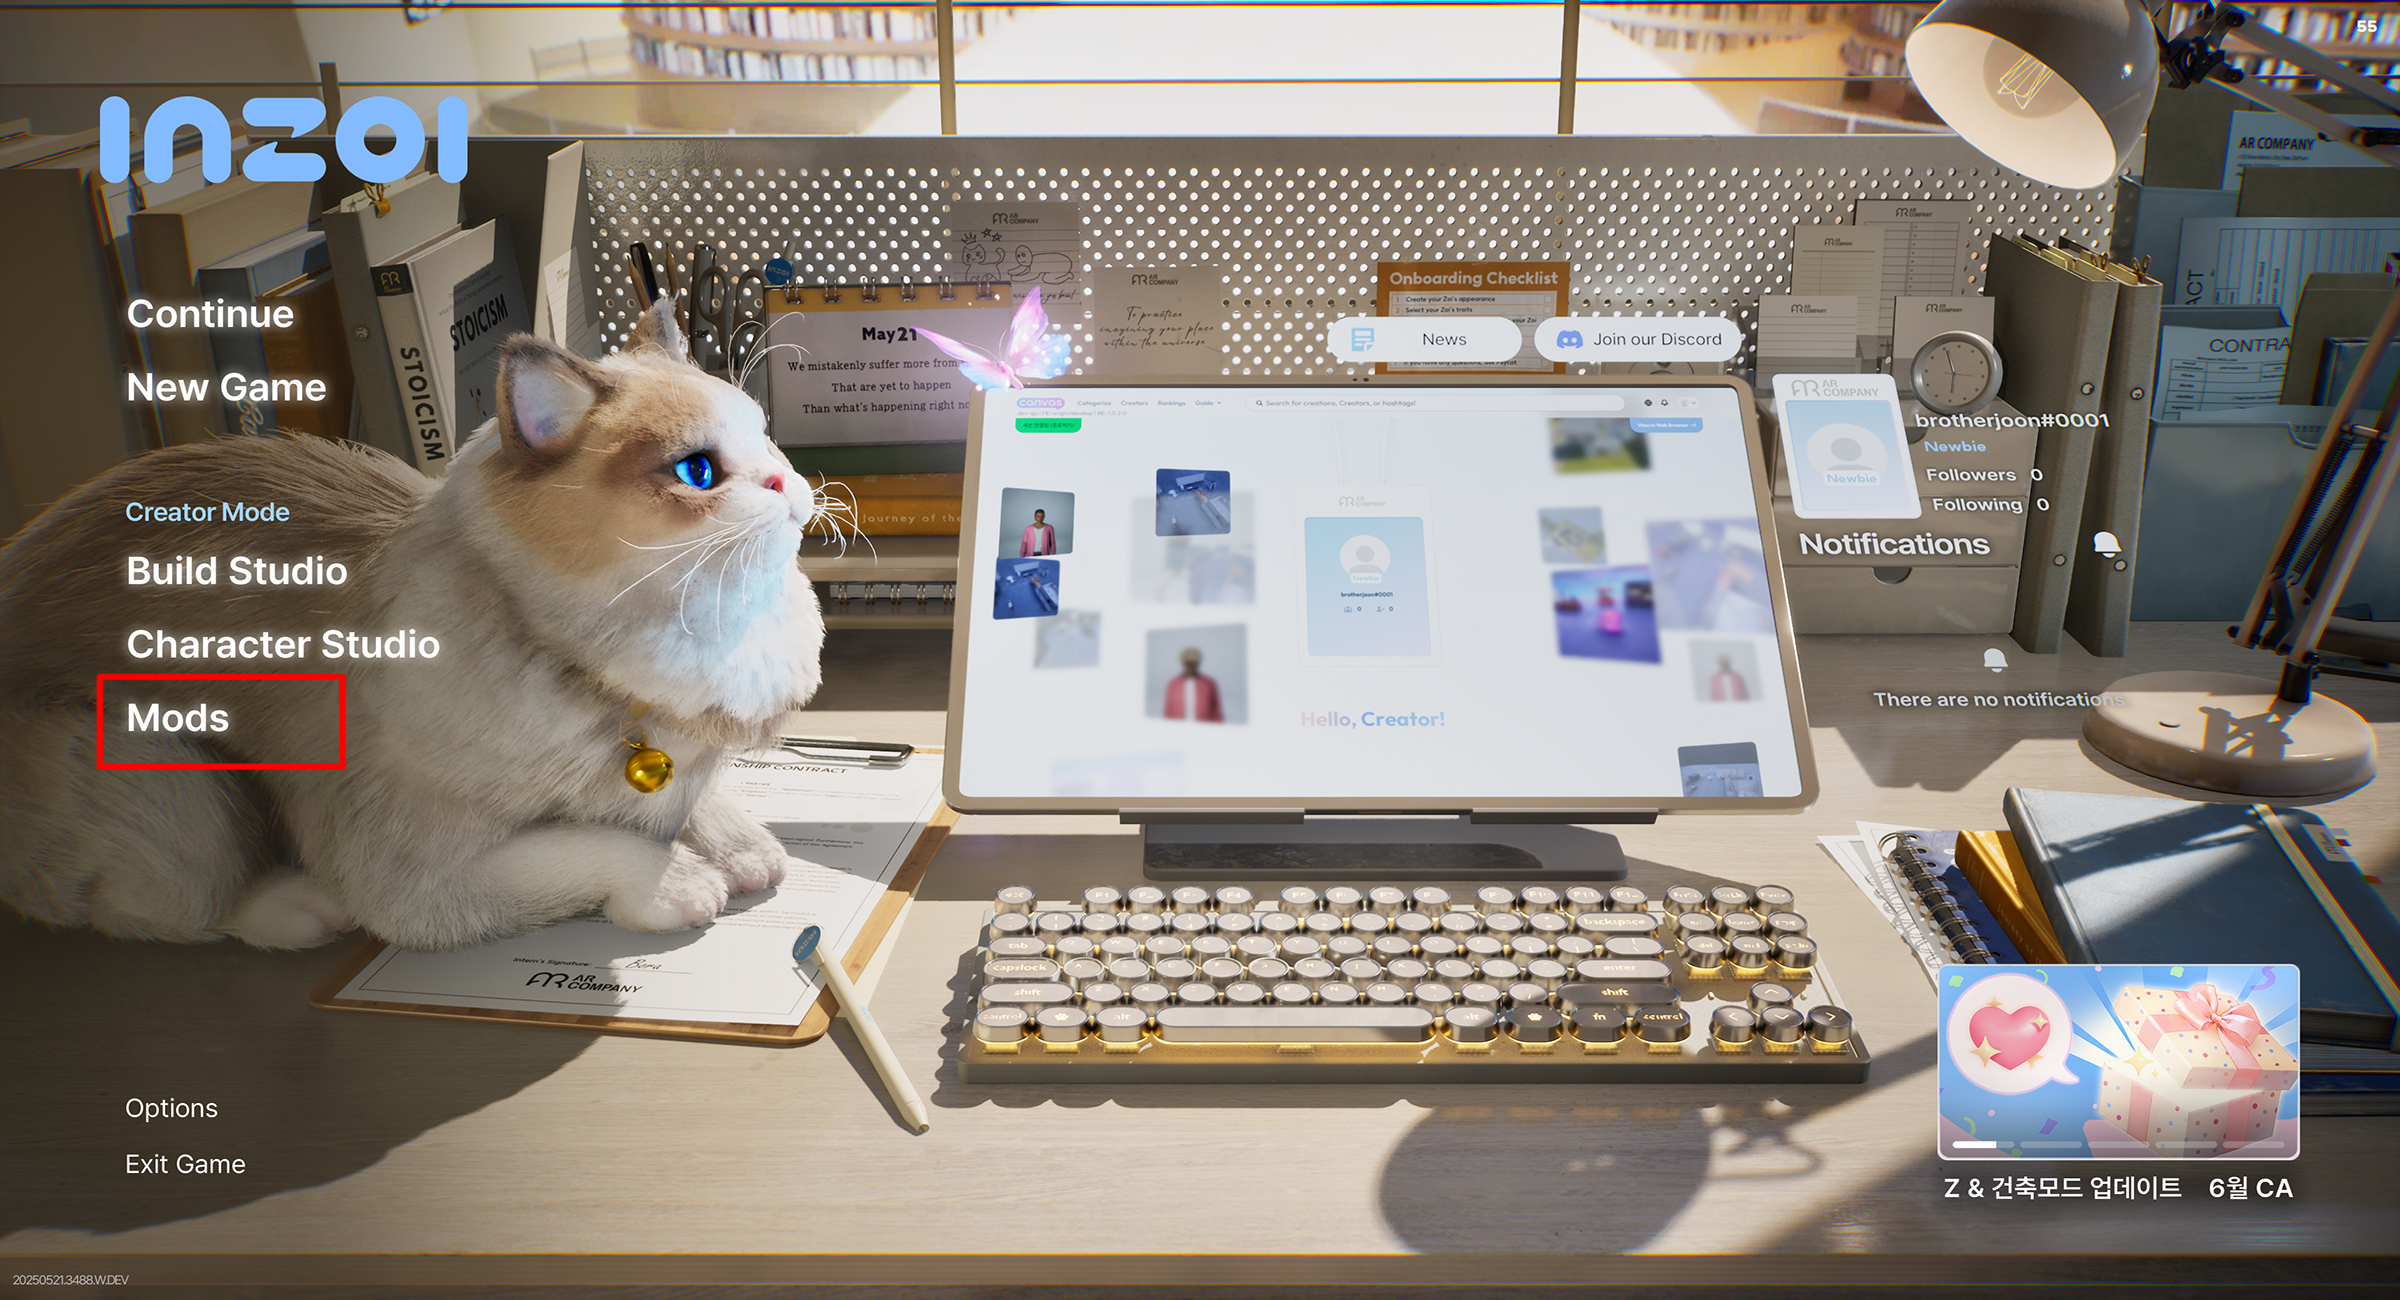
09. Choose Your Mod
In the My mods, double-click the mod file you created.
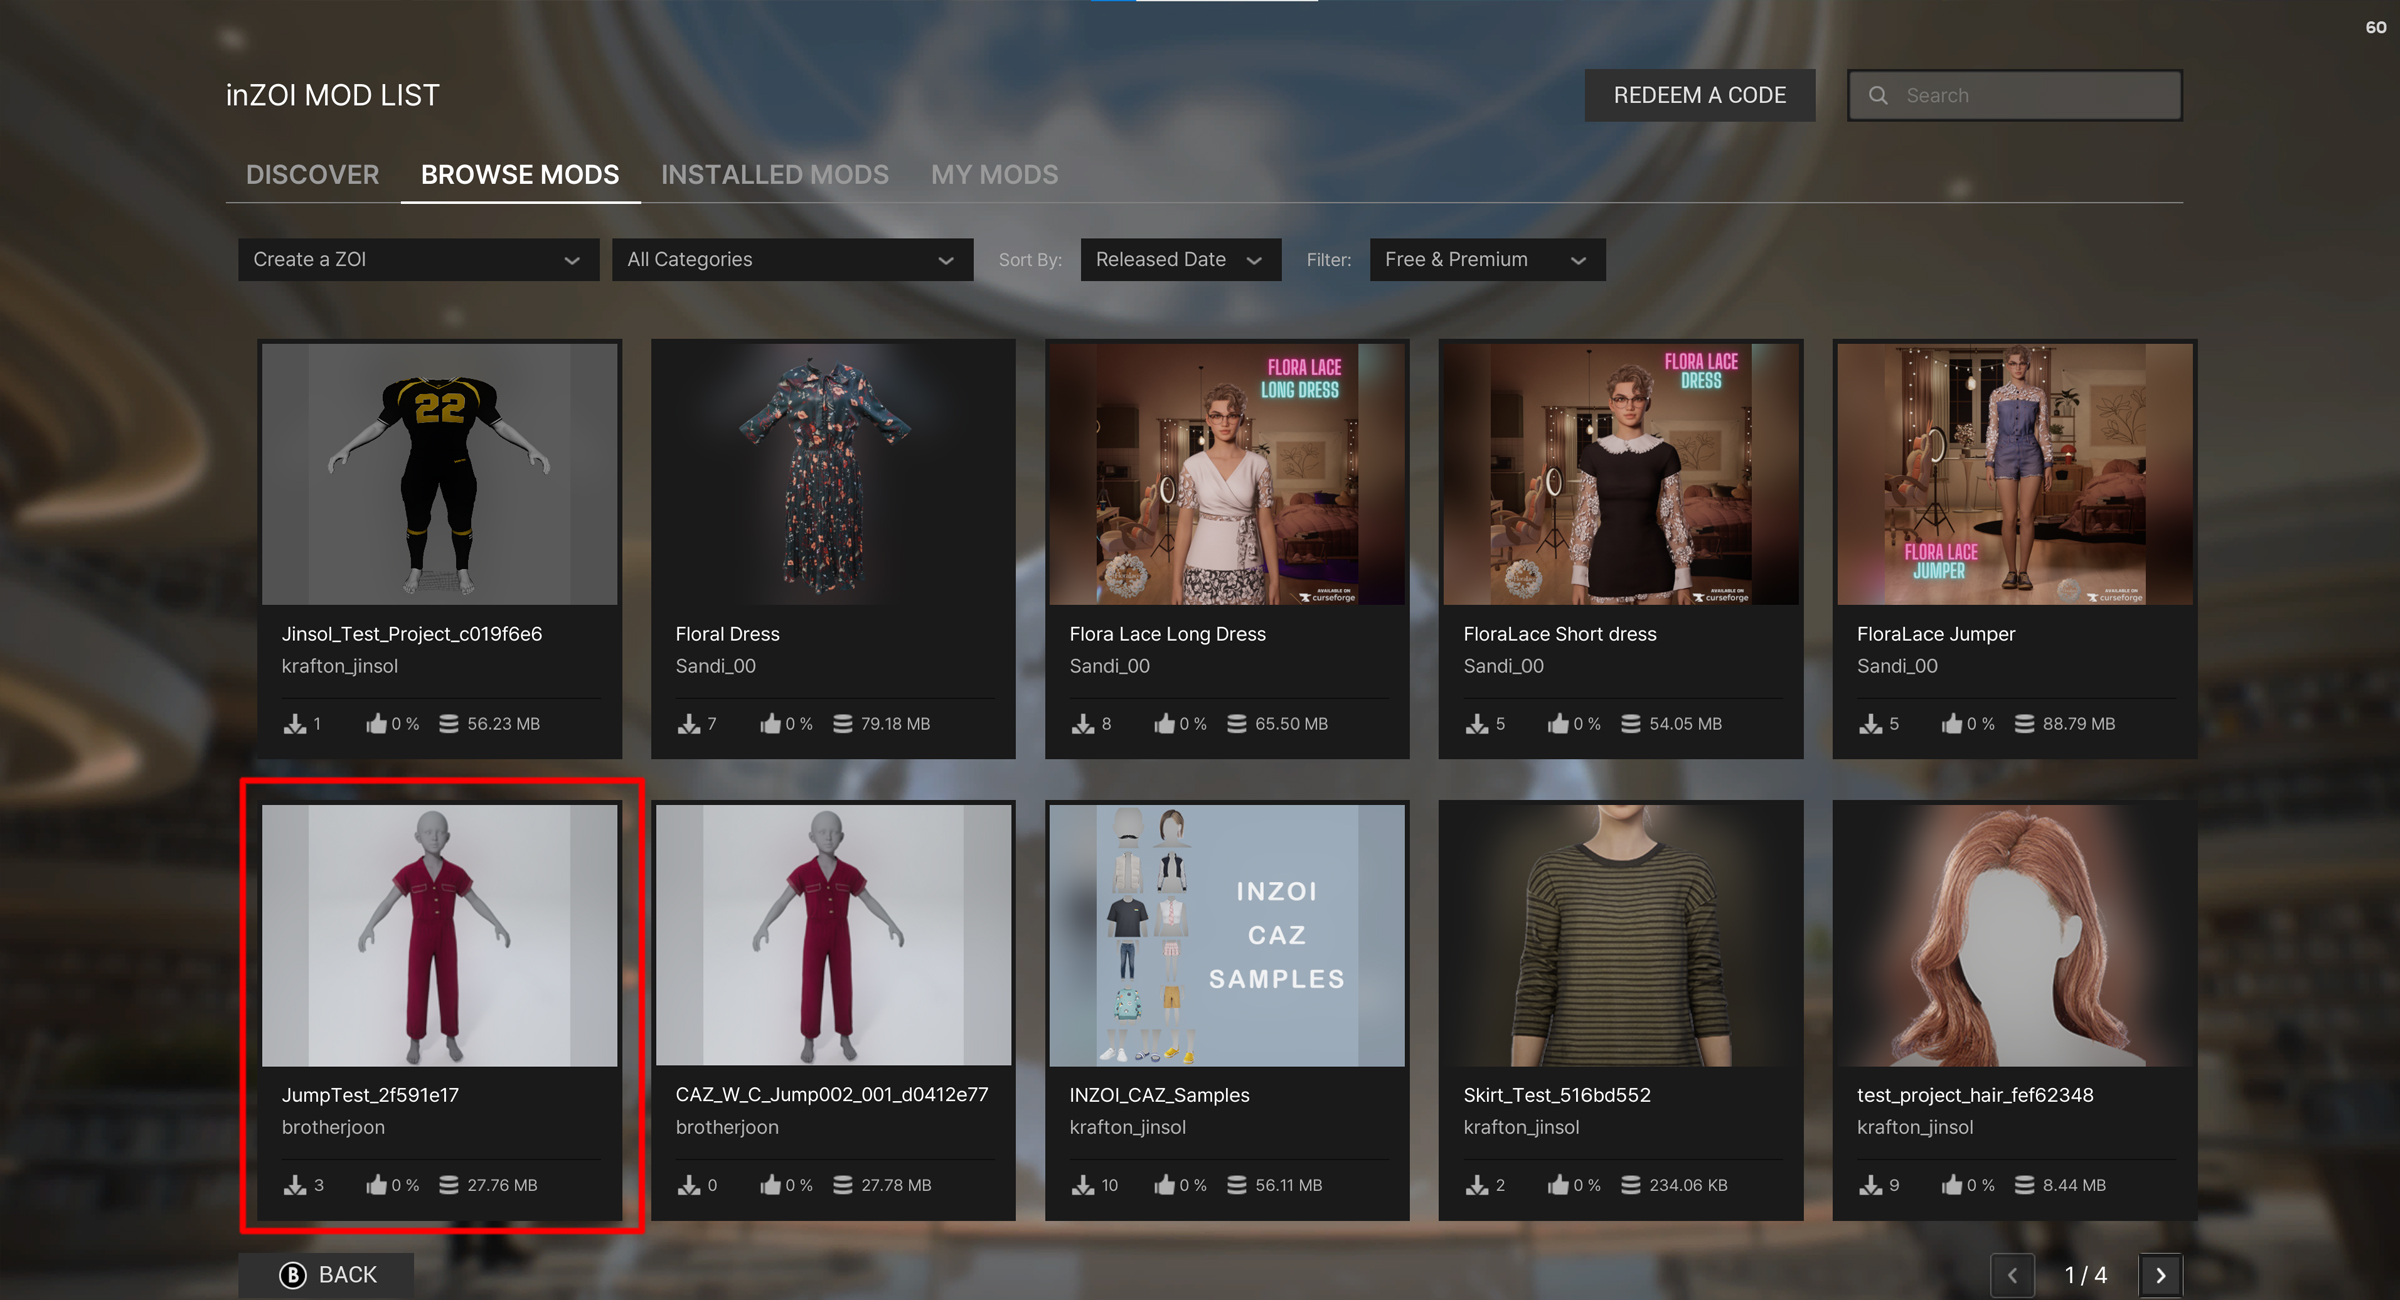
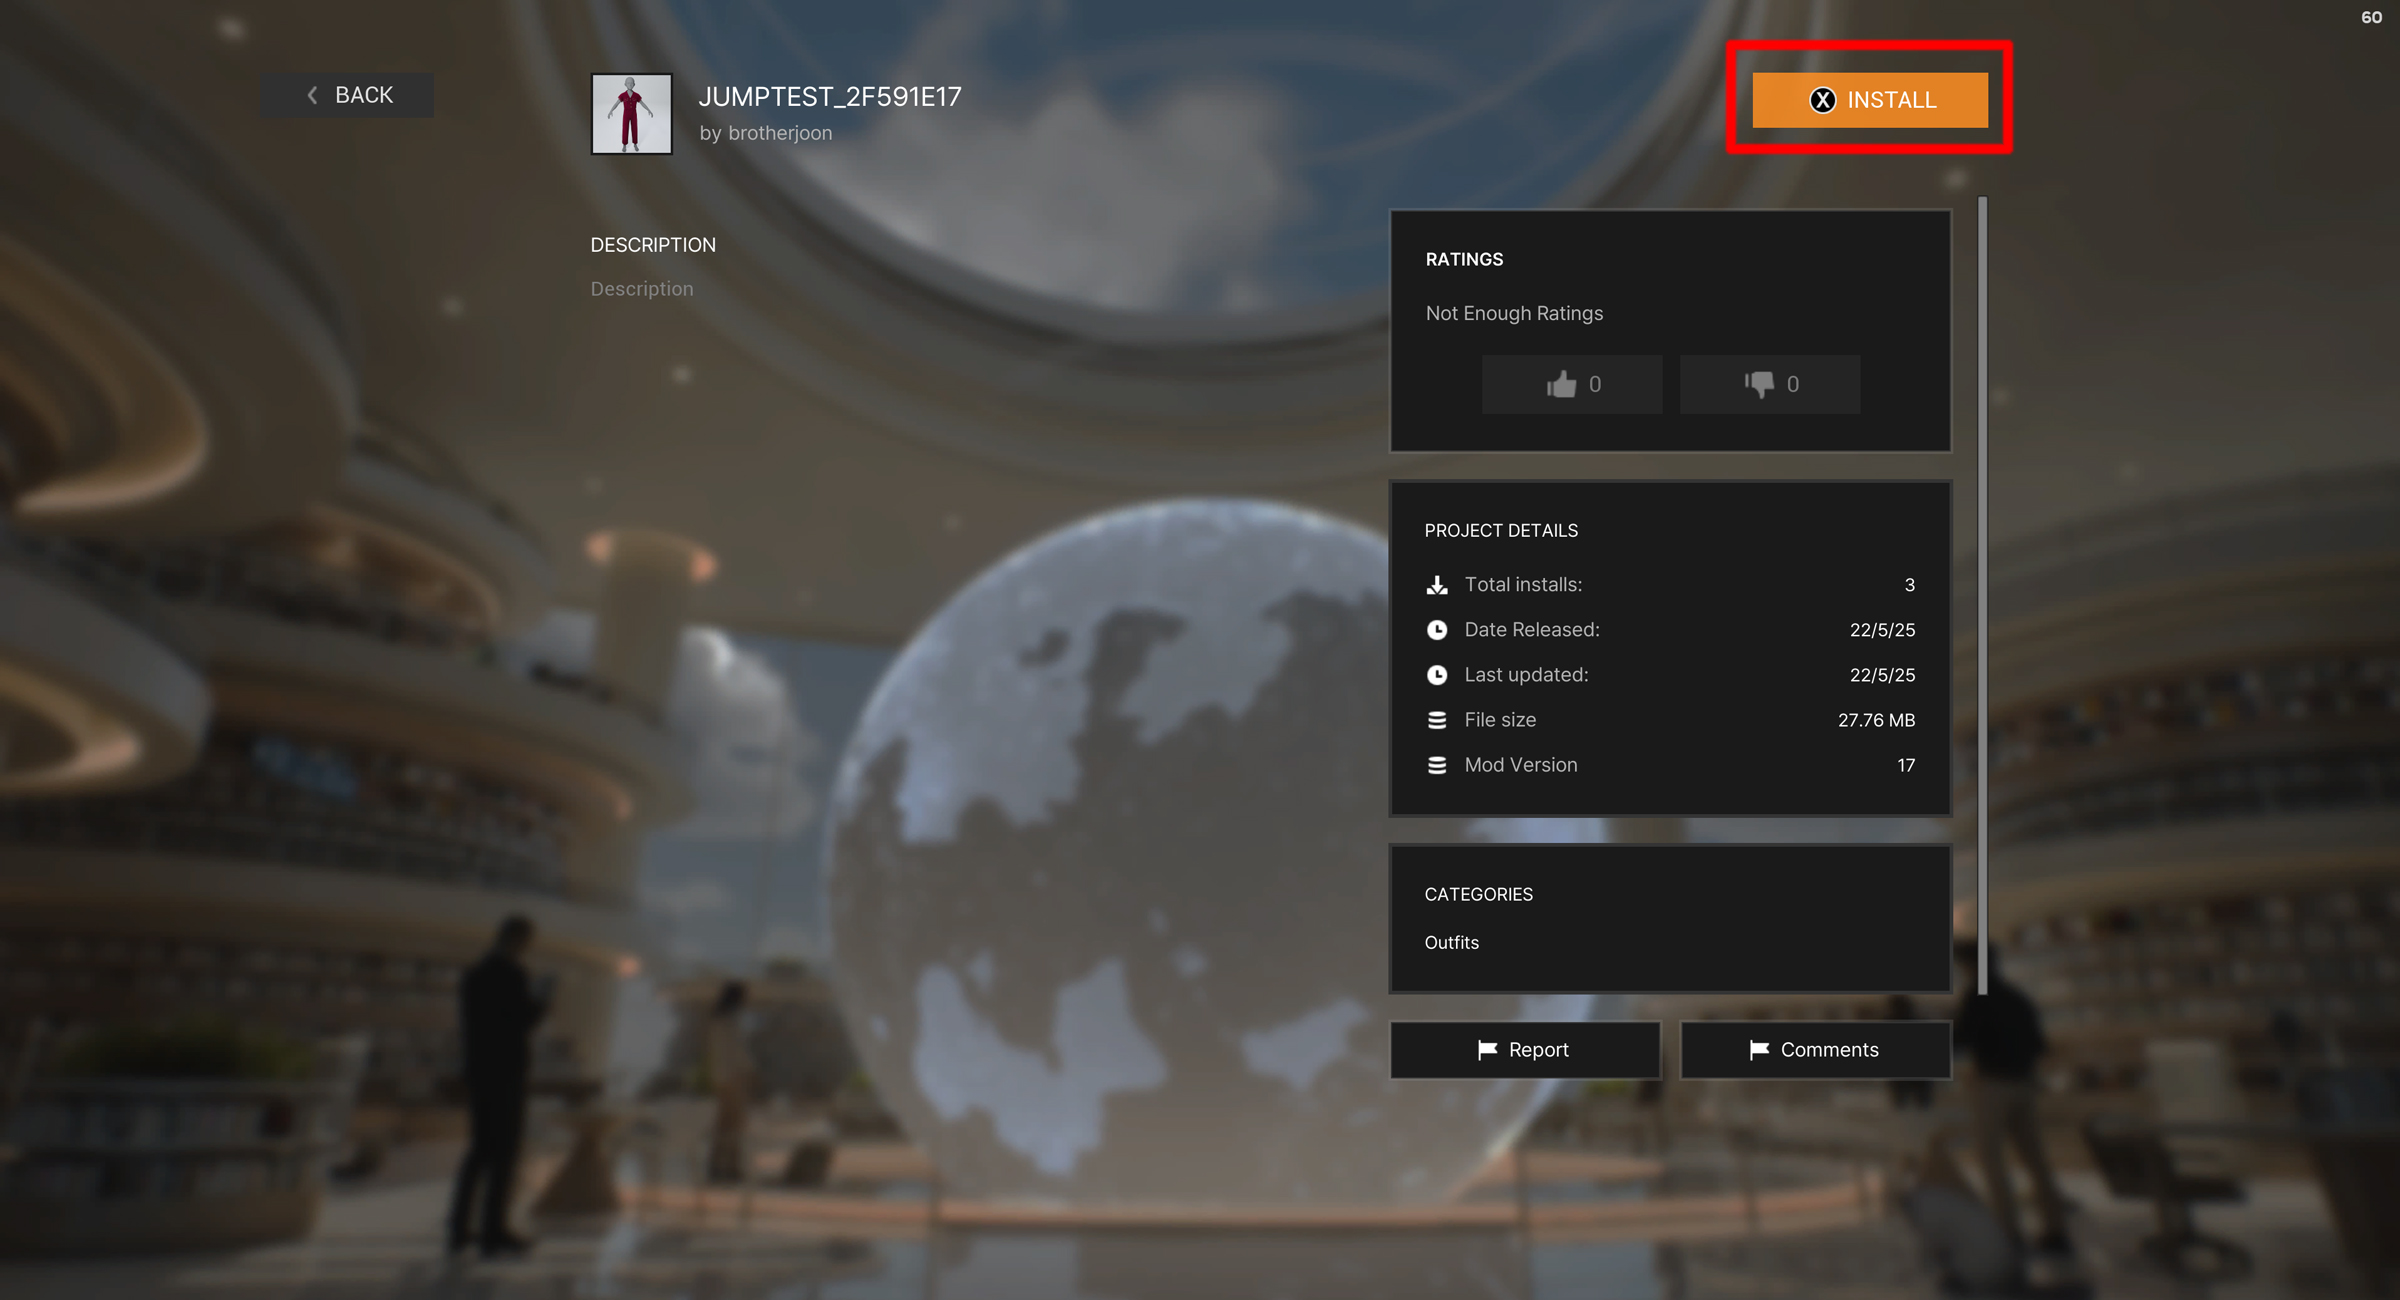
10. Click "Install"
Click the INSTALL button to install the selected mod.
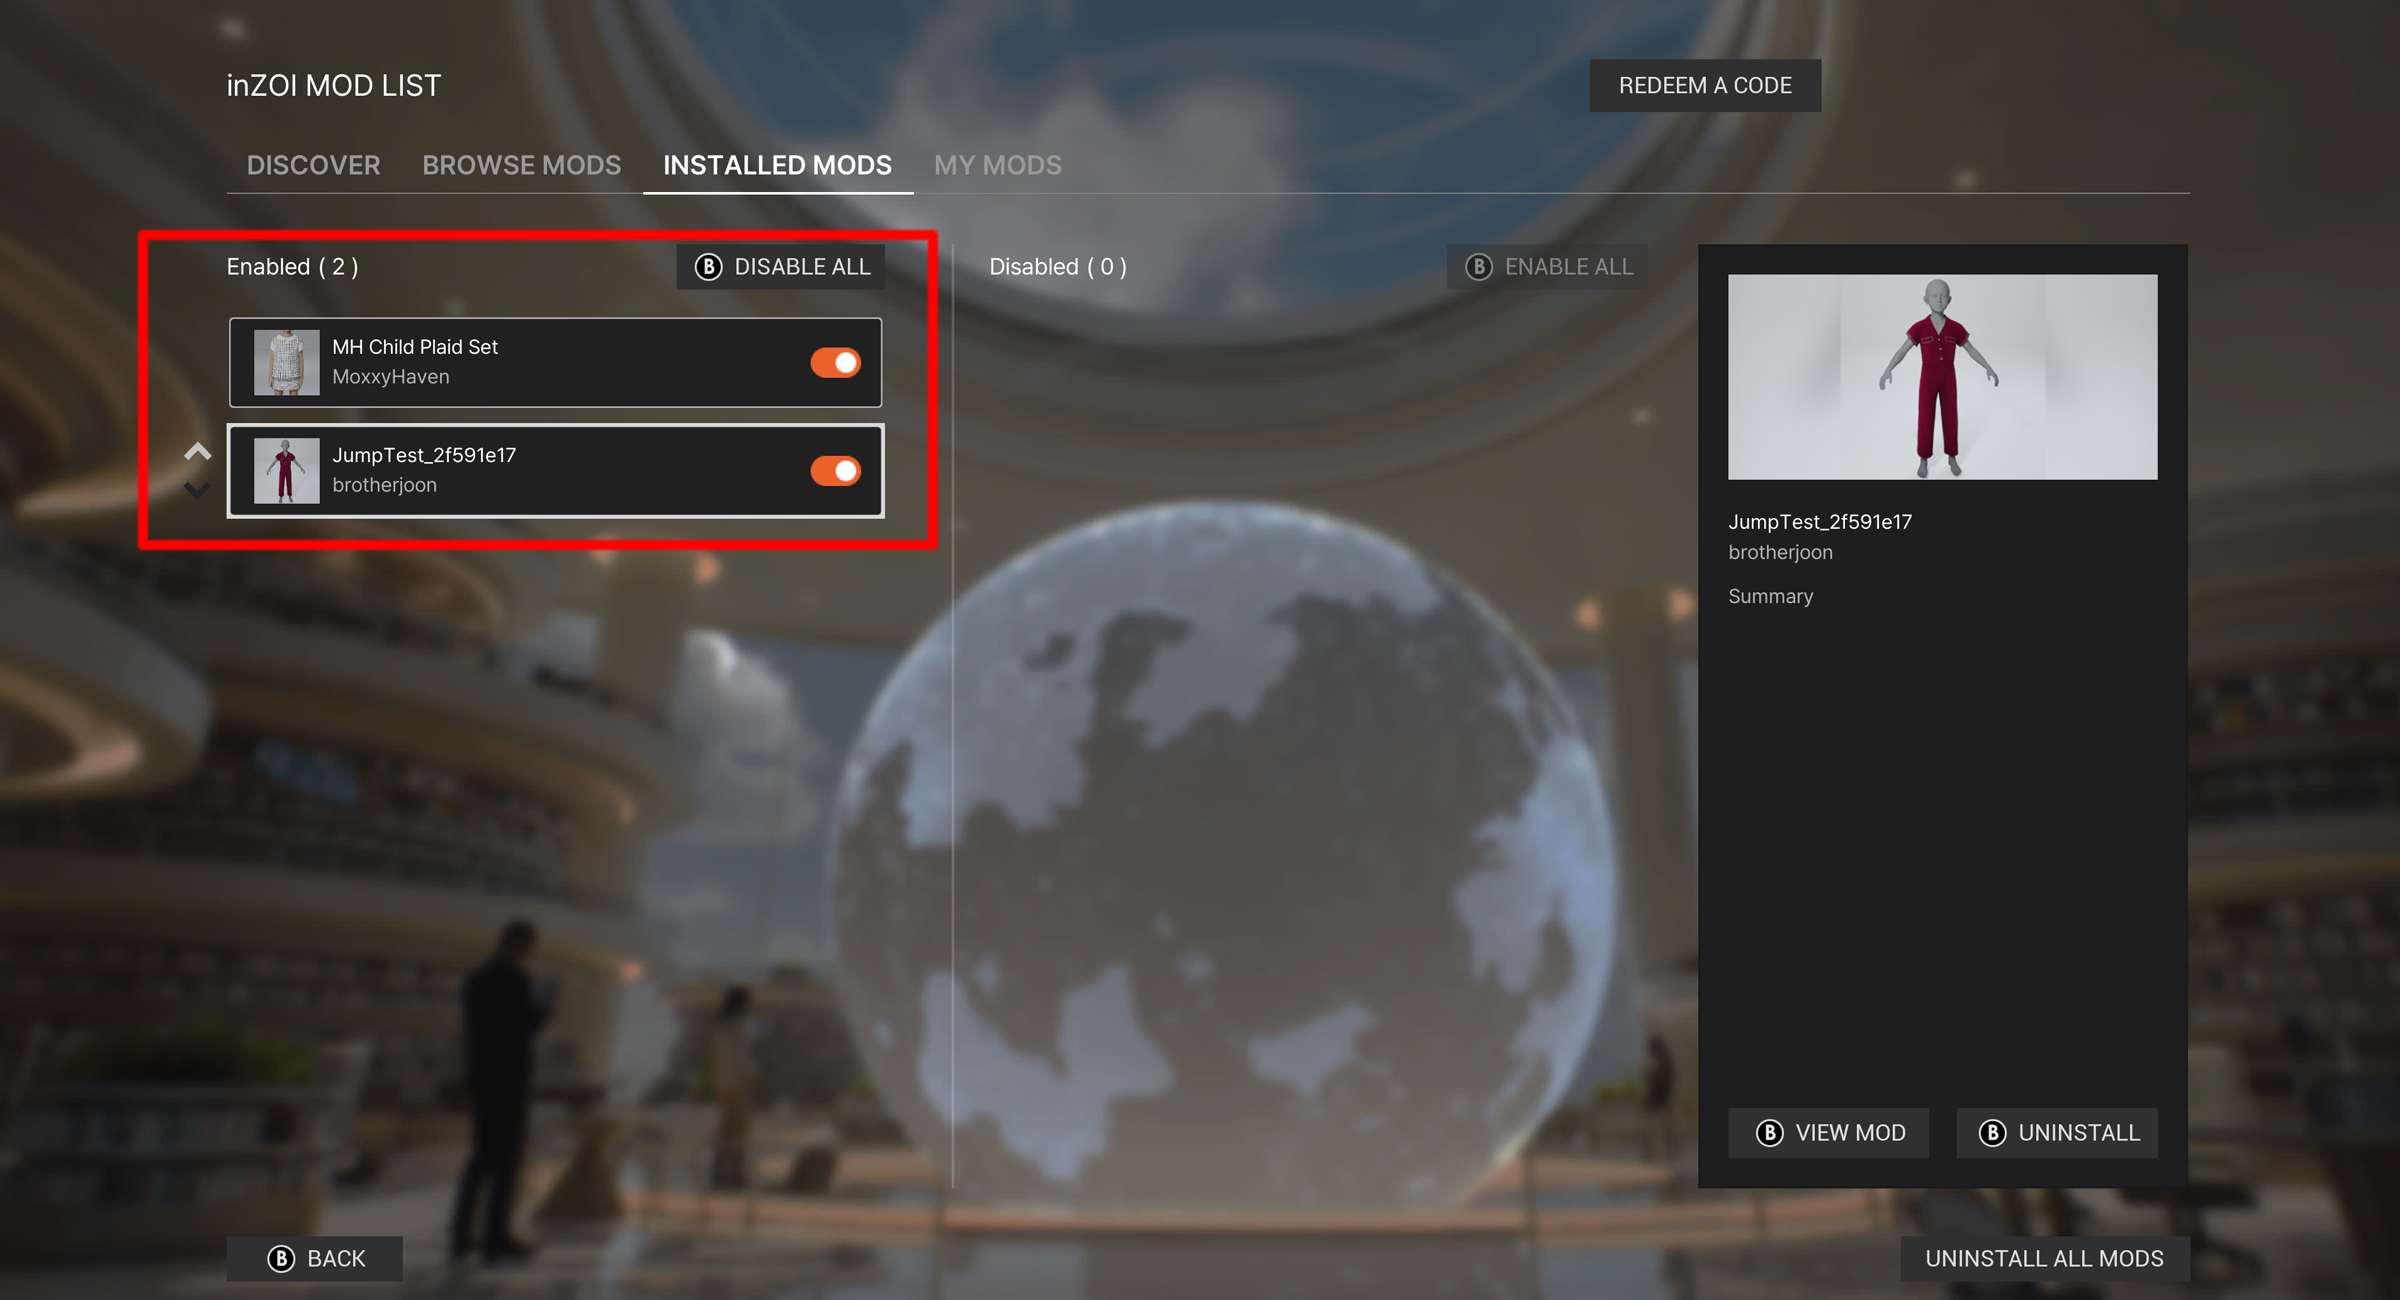
11. Enable & Go to Lobby
In INSTALLED MODS, enable the installed mod and click Back to return to the lobby screen.
12. Confirm in Studio
Once you're back in the lobby screen, check the mod in Character Studio or Build Studio. If the installation was successful, a Modkit icon will appear at the bottom of the screen.